Nendoroid Painting, Day 6!
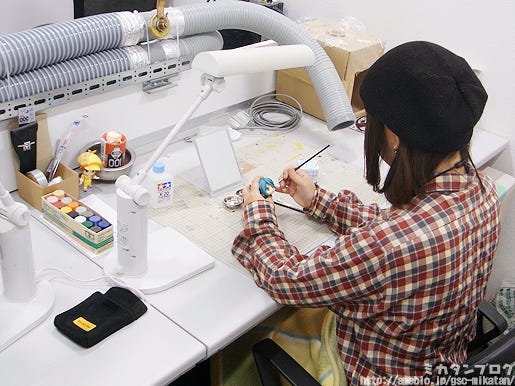
I have to finish this before the end of the year!! (((゚Д゚)))
I’m actually having so much fun with this, so I’m thinking about challenging another expression next year and trying once again! I don’t want to bore everyone reading the blog though, so I want to get through this one sooner rather than later! Wish me luck!!
You can find the previous posts in the series here:
Painting a Nendoroid Expression Part 5: Mixing Colors and Eyebrows!
Painting a Nendoroid Expression Part 4: Preparing to Apply Color
Painting a Nendoroid Expression Part 3: Continuing to Paint the Eye Borders
Painting a Nendoroid Expression Part 2: Painting the Eye Border
Painting a Nendoroid Expression Part 1: Basic Knowledge & Tools
Alright, time to save with some lacquer paint and get to work!
Uh-oh…
I’ve already messed up with my save!!
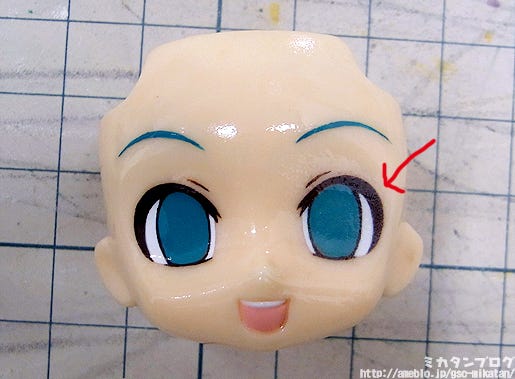
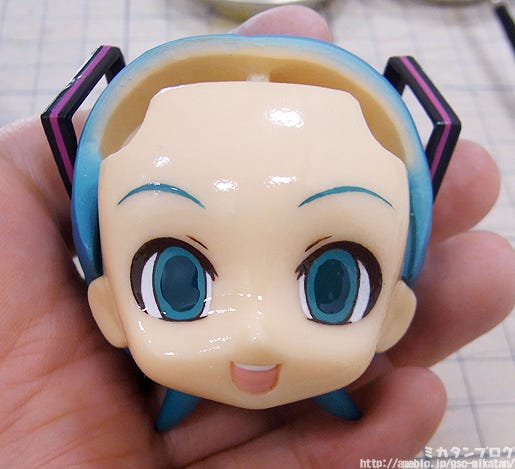
When you need to ‘save’ you spray clear lacquer over the expression, but I sprayed too much over the right eye! I only meant to spray a little bit, but it all came rushing out…
This causes the paint to go lumpy, and the borders to blur…!
If you look close up, you can see the expression looks all grainy and the lines aren’t neat… I had done it nicely before, but I got overconfident and now I’ve gone and made a mistake… if you want to see the correct way to apply the lacquer, I discussed it in detail in this article: Painting a Nendoroid Expression Part 4: Preparing to Apply Color
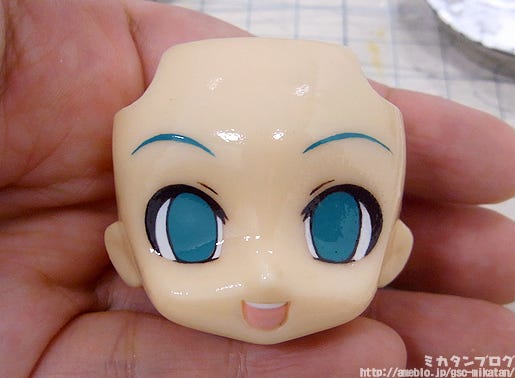
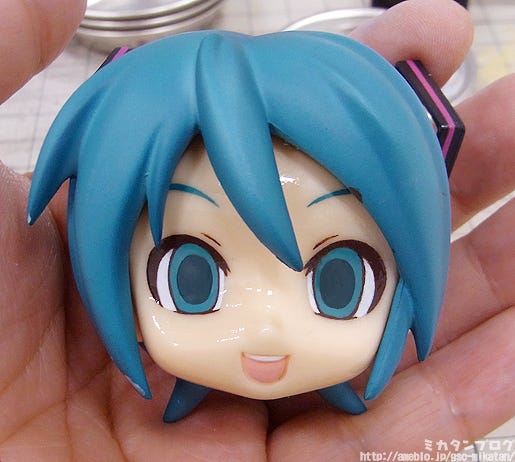
Many painting corrections later…
To correct the blurred outlines I had to increase the size of the lines around the eyes a little bit… the lines look so messy now though, but I’m just going to continue on and see how this comes out. :P
This is the second time I’ve started out the blog with an error now… I already have such little time to work on the expression, and I end up spending most of it on correcting my mistakes!! :(
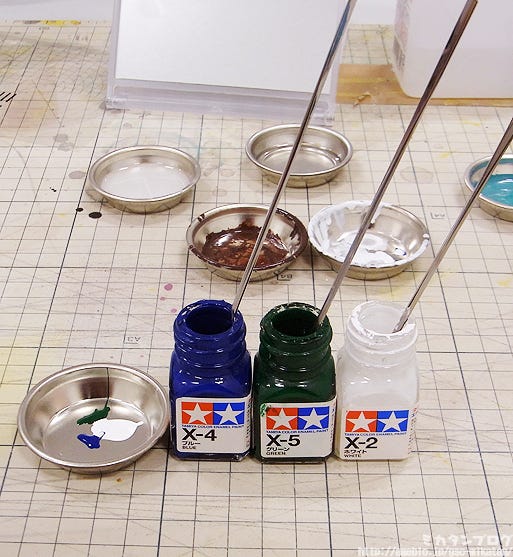
Let’s move onto painting the pupils!
This time I’ll be using white, green and blue! The pupils make use of a slightly darker shade than then base eye color. Here I got some advice from Reiichi Itou, who has worked on a number of Nendoroids including Haru-chan, Kuma and Tsubasa Kazanari!
When you mix colors and end up with a dark color and try to make it lighter, you almost always end up with far too much paint. It’s normally better to start out with a lighter color (in this case white) and then add the darker colors into that (the green and blue) until you are happy with the color. Good luck, Mikatan! d(@^∇゜)-♪
Thank you for the advice, I’ll try it right now!!
Last time I mixed a darker color first and then added more and more white to get the right color, and ended up with far too much paint!!

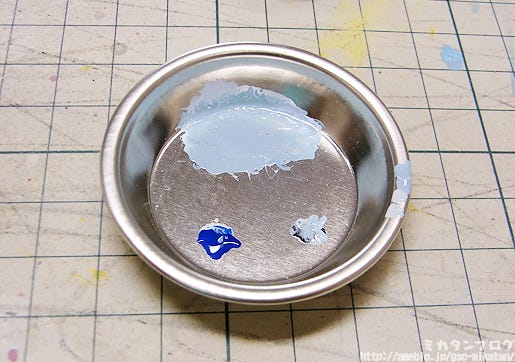
Color mixing complete!
I think this color looks about right… the one on the left is the previous color I mixed for the base color of the eye, the one on the right is the freshly mixed color for the pupils. I’ll have to actually paint it on to get a good feeling for whether or not the color is right…
A quick splash of paint!
Hmm… I wonder if the professional finishers manage to get this right on the first try every time… I’ve painted on far too thick a layer here, but I’m going to just have to continue with this and see how it goes!
Fixing up the shape with enamel thinner!
There we go, that looks a little bit better. I’m still far more worried about that lumpy area and the messy line that I caused at the start of this post… But anyway, Hiro-san and Kawahara-san had some advice for me regarding the pupils!
Hiro-san:
The pupils are really important! The position and size both have to be perfect, or else they’ll cause the left and right eyes to be facing different directions!
Kawapon:
It’s easier to get the direction of the eyes right if you paint the pupils relative to the eye!
I see, I see…
I understand what they’re saying, but I’m not sure whether or not I’ll be able to actually make use of the advice when working on my painting! By the way, I’ve constantly been making use of a mirror to make sure that the symmetry of the expression wasn’t off!
Mixing colors for the darker shadows!
The top of the white of the eye always has a slightly darker shadow. This color actually differs quite a lot between characters – take a look at your Nendoroid collection and compare! I’ll be using a mix of white, blue and black for Miku!
I’ll never get it right on the first try…
My painting always overflows over onto the borders… but that can be fixed up with some enamel thinner, so it’s not a problem!
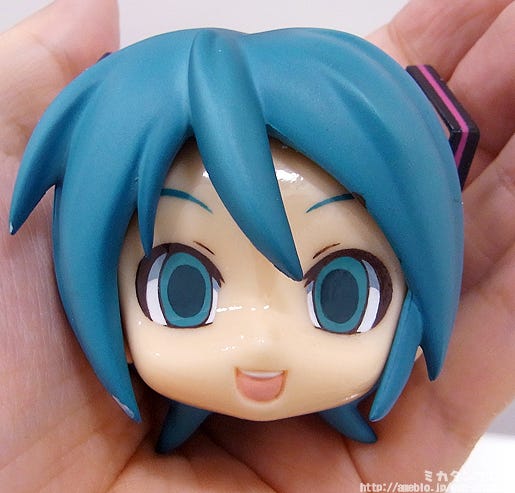
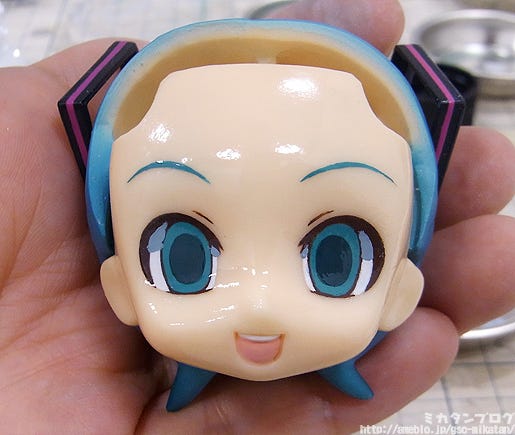
There we go!
Without the highlights in the eyes, she actually looks a bit creepy though…
There are a number of other areas that are still bother me as well, but I just have to move on and see how it turns out! I’ve been trying to fix the messy eye borders the whole time while I’ve been working on the pupils, I think it is starting to look at least a little bit better now – if you compare it to the photos above you can see I did make a few changes!
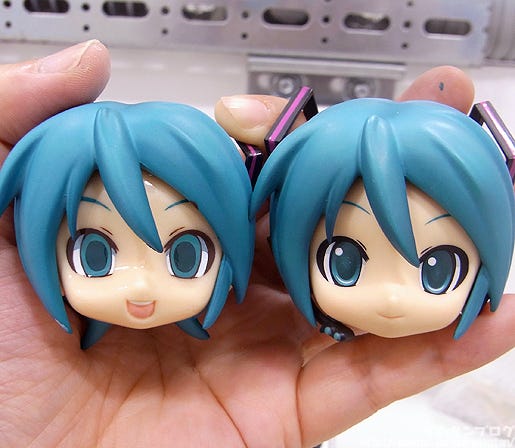
Comparison with the original!
As always, the eyes look like they’re tilted the wrong way… I wish I could fix it!!
I think overall the lines look alright, but the inner corner of the eyes have too much white which cause the eyes to appear tilted.
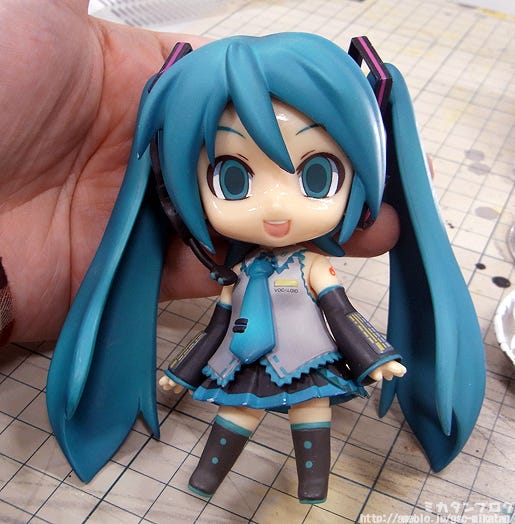
Attached to the Miku body!
I had to censor this last time as it looked so horrible… but so many people said they wanted to see it, so this time I’ve left it for everyone to cringe at! If I left it any longer without showing it, I was worried that people would start actually anticipating something that looked good. :P
But… she looks so evil!!
I’m so sorry, Miku!! Forgive me!!
This was actually the cutest angle I was able to find… the whole time I was working on the painting I kept regretting that I hadn’t made the eyes slightly lower and further apart… I’m sure that would have made her look a lot cuter! I wish this was Photoshop where I could just quickly CTRL+Z and redo whatever I needed to…
When you try doing something like this yourself, you really realize just what craftsman the sculptors and painters really are…
The next post should be the final in this series!
It’ll feature masking, gradient and highlights!
If the masking takes too long, it might be split into two posts though! We’ll have to see how it works out!
But anyway, that’s all for today!
I hope to see you all again tomorrow!! (・∀・)ノ゛
© Crypton Future Media,Inc. www.piapro.net