If there is one thing I’ve always wanted to try ever since I joined GSC, it can only be trying my hand at…
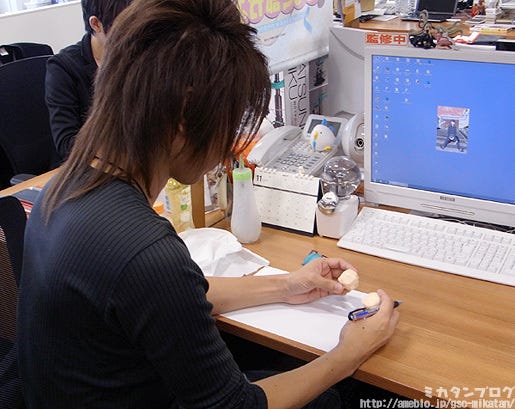
Painting a Nendoroid expression!
Nendoroids are known for their big heads and thus their big eyes – because of this the way the eyes are drawn is a very important element of any Nendoroid!
Everyone here at GSC seems to agree that the most pressure when making a Nendoroid comes from trying to get the eyes right… but even so, I’ve decided to take up the challenge as an amateur!
I have a 3-day time-limit!
Although I have other work to do, so maybe only two… I know there are many of you who are looking forward to product and prototype reviews, but sometimes I think its good to have a few articles like this one!
Just give me three days!! ^^
Anyway, I want to get started but I don’t know where to start, so I’ll start off with a lecture from Oda-P!
Thanks, Oda-P Sensei! (`・ω・´)
Oda-P was one of the founders of the Nendoroid series – he sculpts and paints them himself! He does almost everything!!
Oda-P: “You really want to do this? Who are you going to paint?”
Mikatan: “I was thinking Miku would be good…?”
Oda-P: “Miku is really difficult… but let’s give it a go.”
Mikatan: “Around how long does painting an expression take?”
Oda-P: “For someone as serious as Kawara-san or myself, about a day and a half. For newcomers it could take as long as a month.”
Mikatan: “(((゚Д゚)))!!”
Well, I’m still going to give it a try!!
Starting with an explanation of the paints!
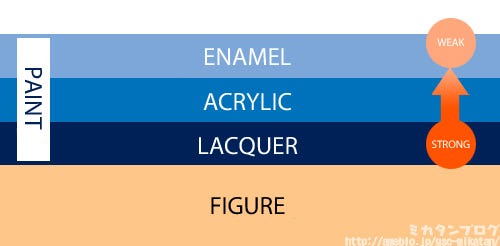
There are three different paints, each with a different strength – lacquer, acrylic and enamel paints.
Lacquer is the strongest, followed by acrylic, with enamel being the weakest paint.
In other words, you can’t paint lacquer paints on top of acrylic or enamel paints as the strength will cause them to dissolve, but you can paint enamel paint on top of acrylic or lacquer paints. If you want to paint different types of paint on top of one and other, you need to follow the image above.
I actually introduced this concept on the blog before on the DIY Figure Repairs Part 3: Scuffed Paint post. You can find out a bit more info from that post!
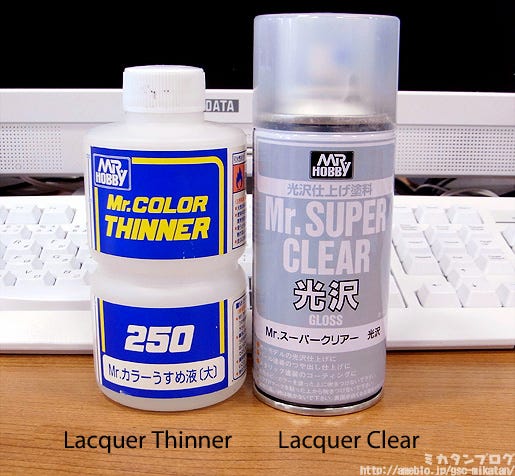
Lacquer Thinner and Lacquer Clear!
These will also be needed – they can be found in most model stores!
http://mikatan.goodsmile.info/en/wp-content/uploads/2015/10/o0515042212272142000.jpg
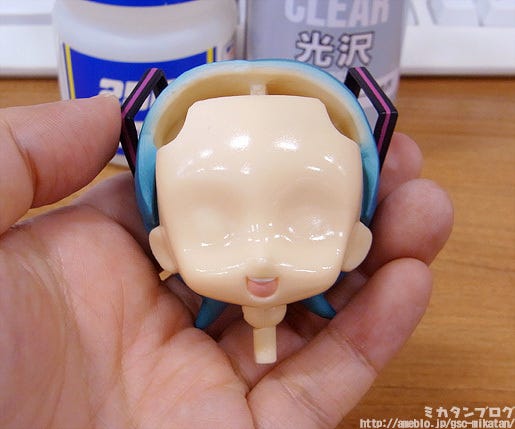
Wiping the lacquer thinner on Miku’s eye!
This expression part had some scratches on it, so we decided to use it for this article. Just place some lacquer thinner on a tissue and gently stroke it against the eye of the expression. It has some fairly strong fumes, so be sure to do this in a well ventilated area!
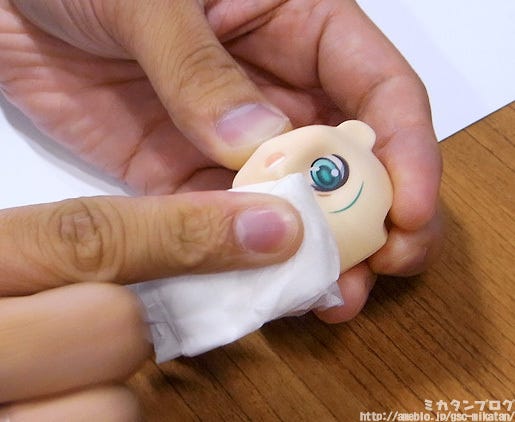
The eye disappears completely!
Amazing! I guess that means I can start painting on my own expression now?
Not quite yet… the lacquer thinner will leave the surface a big rough which will cause the colors to run, so first…
Rub on some lacquer clear!
It makes it so smooth and shiny!! It’s just like when they pour concrete onto a gravel road to make it all smooth!
Now I’m ready to start painting on a new expression!
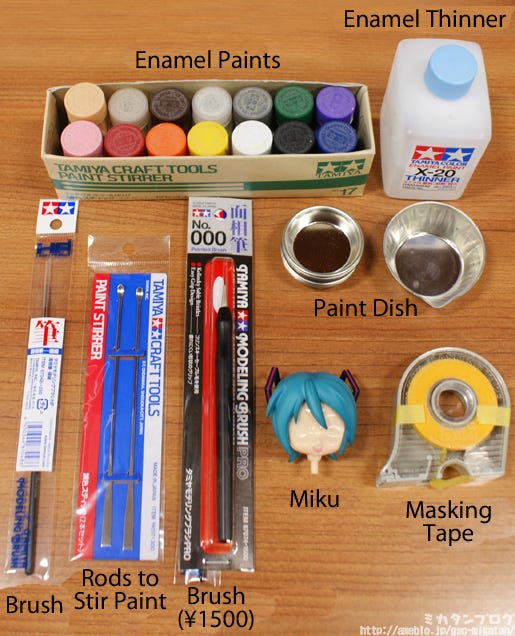
These are the tools of the trade!
The paints and thinner I’ll be using are enamel, which as I mentioned before is weaker than the lacquer. That means no matter how many times I paint and erase the base I’ve made, it won’t remove the lacquer that cleared the eyes away.
There are two different brushes you can see here, one that costs about ¥250 and then a more expensive one… so which one should you use? Oda-P says the cheaper one is just fine!! :P
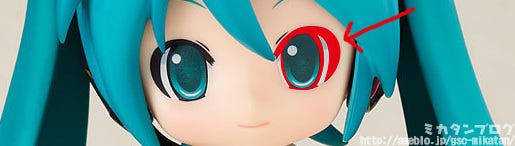
Right, let’s draw in the border of the eyes!
By that I mean the red line in the image above.
I think getting that shape right might be one of the most difficult parts… I hope my Miku comes out looking cute!!
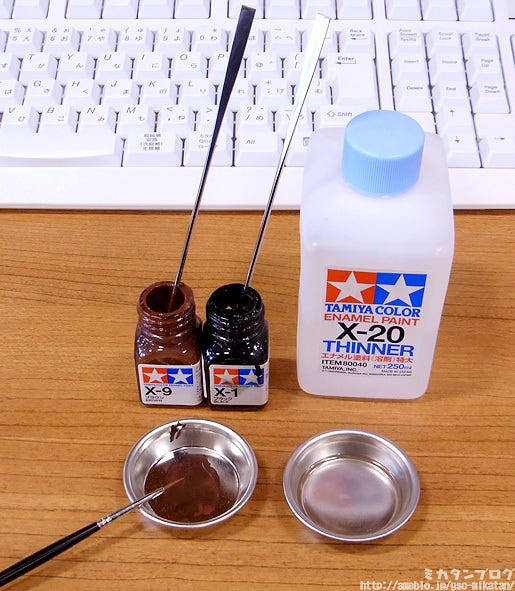
The eye border is 1 part black and 4 parts brown paint!
Many of the earliest Nendoroid had a blacker eye border, but most of the recent ones actually use a brown color. The color looks much darker once its painted on, so if it looks a little too brown then its probably still fine!
I’ll be continuing tomorrow with the actual painting!
I’m really going to try my best to get this looking right, but if it turns out as a disaster, I hope you’ll all still cheer me on… ^^;
Anyway, that’s all for today!
I hope to see you all again tomorrow!! (・∀・)ノ゛
(C)Crypton Future Media, Inc. www.crypton.net