Just a few days ago…
Oda P: “You should finish up your expression at WonFes!!”
Aki: “Ooh, that’s a great idea! Let’s do it!”
Nendoroid Painting, Day 8!
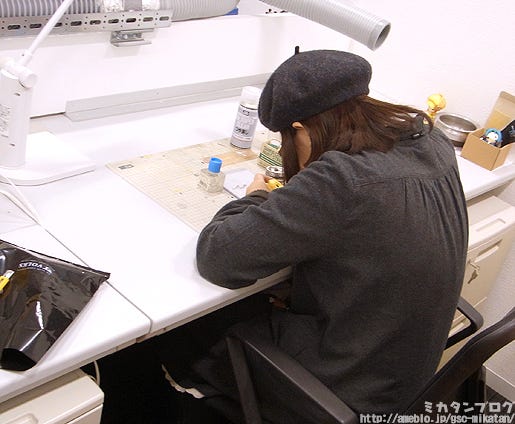
I was hoping to finish this up before WonFes!!
But now apparently I’m going to be finishing my expression at the event instead… I’m not entirely certain how things managed to end up like this. :/
But… I can’t take an airbrush to the event, so I’ll need to finish up with that section now, and then finish everything else at WonFes…!
You can find the previous posts in this series here:
Painting a Nendoroid Expression Part 7: Preparing to Apply the Gradient
Painting a Nendoroid Expression Part 6: Pupils and Shadows
Painting a Nendoroid Expression Part 5: Mixing Colors and Eyebrows
Painting a Nendoroid Expression Part 4: Preparing to Apply Color
Painting a Nendoroid Expression Part 3: Continuing to Paint the Eye Borders
Painting a Nendoroid Expression Part 2: Painting the Eye Border
Painting a Nendoroid Expression Part 1: Basic Knowledge & Tools
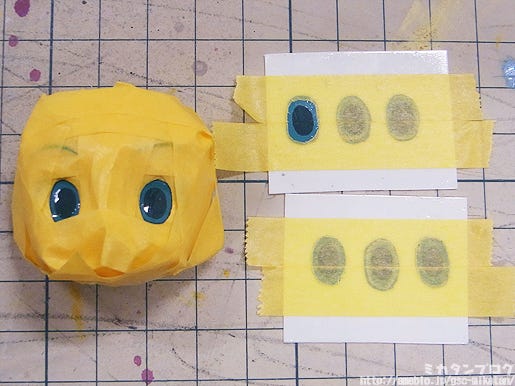
The ‘chip’ to test expressions on!
In the last post I managed to get as far as painting the base colored pupils onto this white plastic board called a ‘chip’!
Now I’ve placed masking tape over the test eyes and cut open holes in that tape to mimic the effect that I created on the actual expression – once I’ve tested the color, I’ll peel off the tape to see how the gradient looks!!
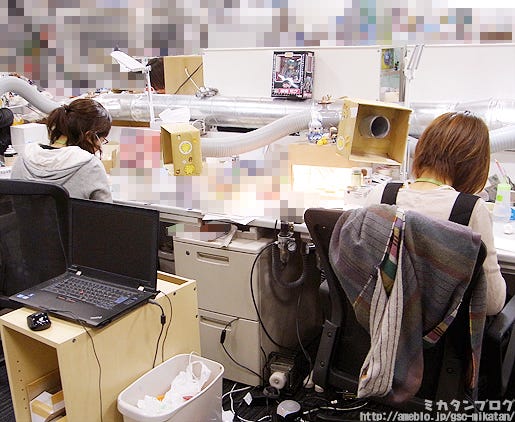
These are the girls working on expressions!
They featured briefly in my previous post as well – Nendoroid expressions are primarily done by these two! I really feel bad stealing away the airbrush during this busy time before WonFes… I hope it isn’t needed too urgently for anything!
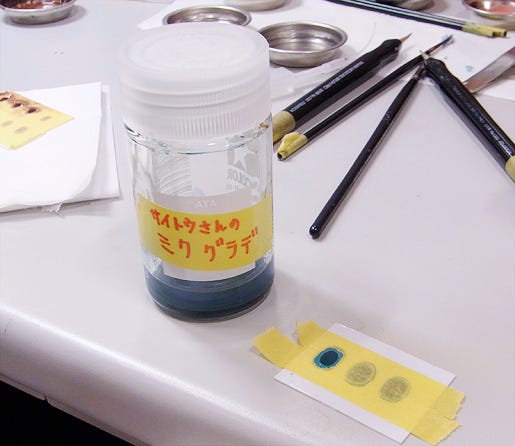
This is the lacquer paint I mixed up last time!
I was using enamel paints while working with the brush, but the airbrush uses lacquer paint. This is the color I mixed up with lacquer paints last time, which was kindly put into a little bottle for me which reads ‘Mikatan’s Miku Gradient’. Somehow that makes me feel all happy inside!
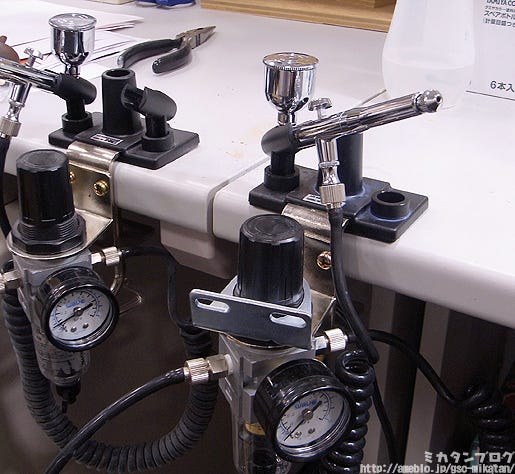
The airbrush!
Back during the NicoNico Super Kaigi I played around with one for about 5 seconds, but this will be my first time actually using one. I’m quite nervous…
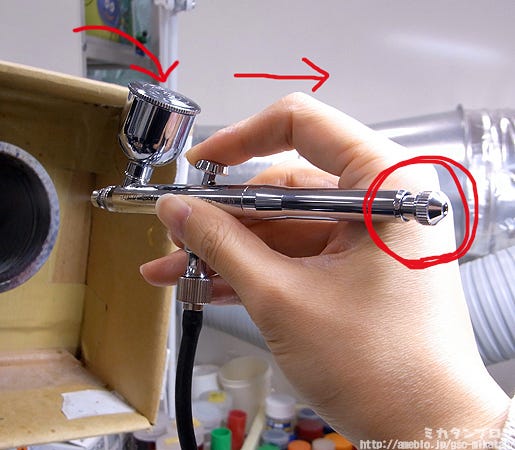
Here’s how to use the airbrush!
(1) Add the paint into the cylinder part.
(2) Spin the knob at the back to change how the brush sprays.
(Either over a wide area, or in a specific area)
(3) Press the switch while pulling back.
That’s the absolute basics! It doesn’t sound very difficult, but much easier said than done!
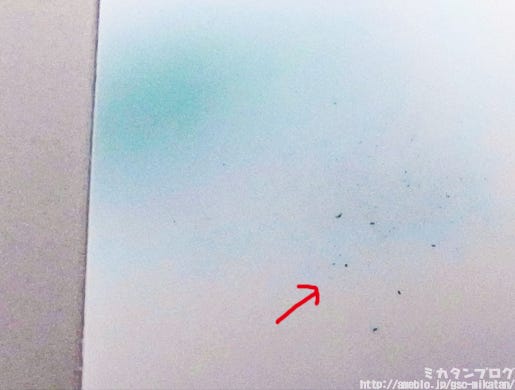
The consistency of the paint is very important!
In the previous post you saw me mixing the paint with lacquer thinner to get the right consistency, but if you use too much paint it creates paint spots like these! I’m glad I didn’t end up leaving these spots all over my actual expression…
If this happens, you simply need to add more lacquer thinner to thin out the paint… but if you add to much, then paint will become too thin which will instead cause the coat to become uneven. You need to have the perfect ratio!
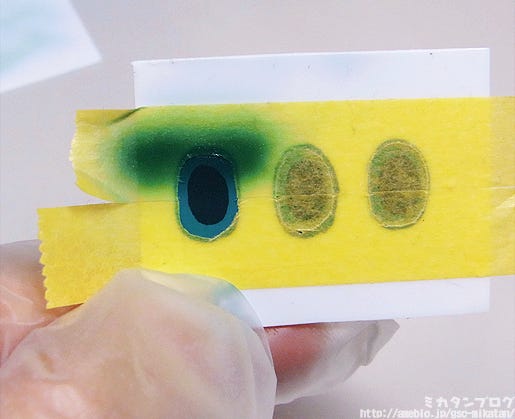
Painting over one of the test eyes!
This will let me check exactly how it’ll look on the final product!
I’d love to have had more practice with the airbrush, but I really don’t have the time… so I just jumped straight into it! :P
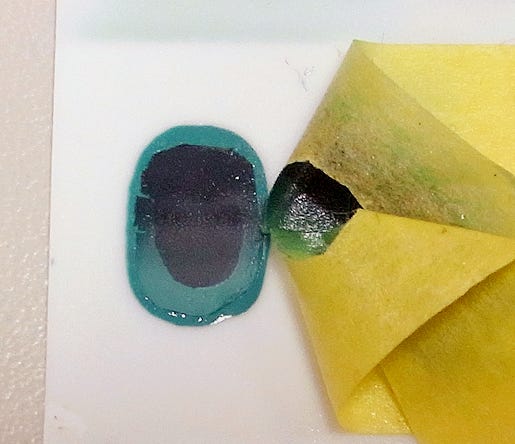
W-Well… (‘A`)
I drew the pupils so big that I can’t really tell how the gradient looks at all. In retrospect, I guess I should have made the pupils relatively small, so you can see the gradient clearly in comparison.
Also, it’s not that easy to see in this photo, but the color isn’t matching up as well as it should – you can actually see it better in the previous photo. It seems like the green is a little too strong, so I’ll need to mix the colors a little bit more.
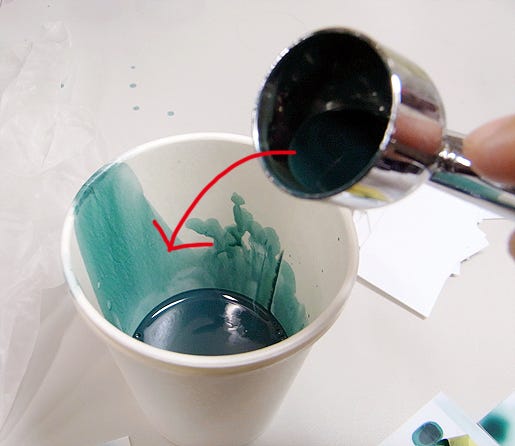
Transferring the remaining paint into a paper cup…
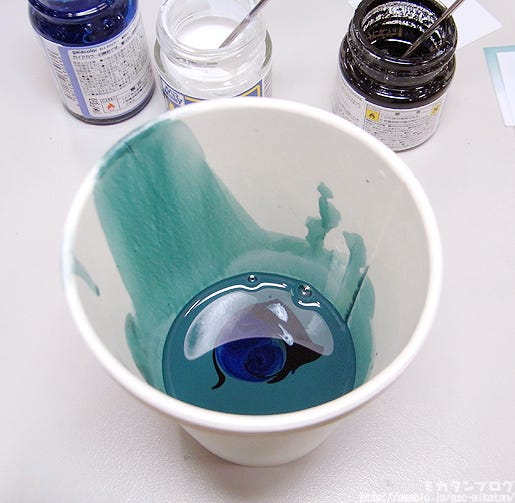
Mixing colors once again!
The green was too strong, so I’ll be adding a little more blue and black.
I also randomly added a dab of white! :P
Just one drop of paint can change the color a lot! (`・ω・´)
It might look like I’ve poured in quite a lot here, but that’s just the paint spreading out. I really just put in a few drops. Just by looking at it, you can’t really even see that the color has changed at all once it’s mixed up.
But once you spray it on with the airbrush, you can tell it has changed a bit! (maybe if you’re a pro you can tell without spraying it out…) It seems much harder to mix the right color compared to the enamel paint.
But it’s actually a lot of fun!! (*゚∀゚)=3
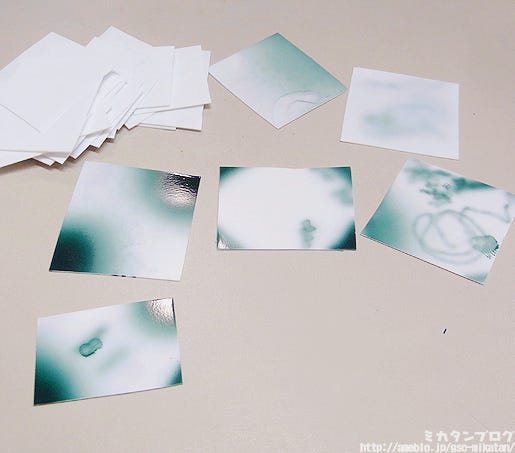
The test chips!
After practising with the airbrush and mixing different colors a bit, I really can’t help but want to play with it some more! There were quite a few times that I almost forgot to add lacquer thinner or added too much by a mistake. It’s taken me a whole two hours to get up to this point today… it’s quite a time consuming exercise – particularly trying to mix up the perfect color!
Apparently the pros like Kawapon-sensei need to get the color perfect in less than an hour…
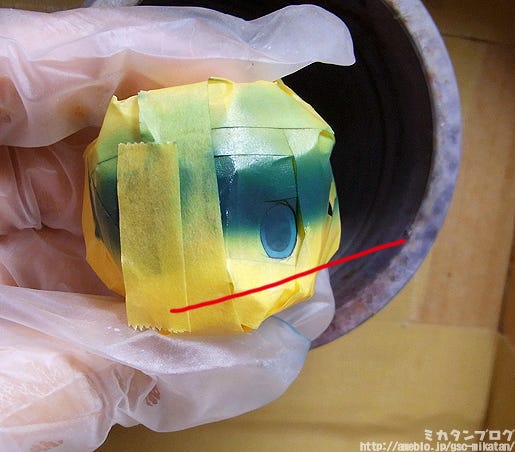
Now it’s time for the real thing!!
Most people think that you need to move quickly with an airbrush, but in this case it’s apparently best to not rush, and rather apply the color slowly. If I remember correctly, Oda-P colors both the eyes at the same time, but I think I’ll do them one at a time just in case I mess something up.
After stopping to take a look, it looked a bit like the gradient line was slightly tilted. It’s important to stop and check every so often to make sure it still looks alright, using the masking tape as a guide is quite useful.
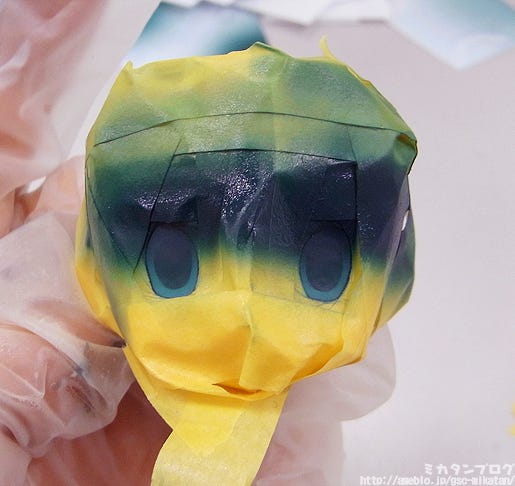
Gradient, complete!!
I did it! I can see there are a few areas where the paint is still a little light (particularly the inner area of the left eye), but if I try to fix this I’ll end up destroying the gradient I’ve worked so hard to create… so I’m going to leave it as is for now.
I’m too much of a chicken to risk all my hard work. :P
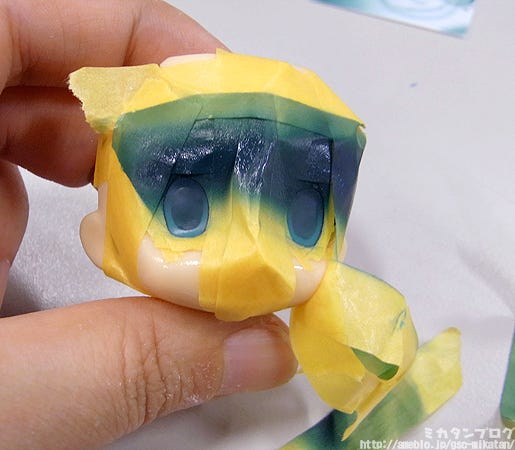
Peeling off the masking tape…
This was a really nerve-wracking part for me!
It felt like I’d end up ripping off the paint if I wasn’t gentle… so I made use of some tweezers and slowly pulled it off…
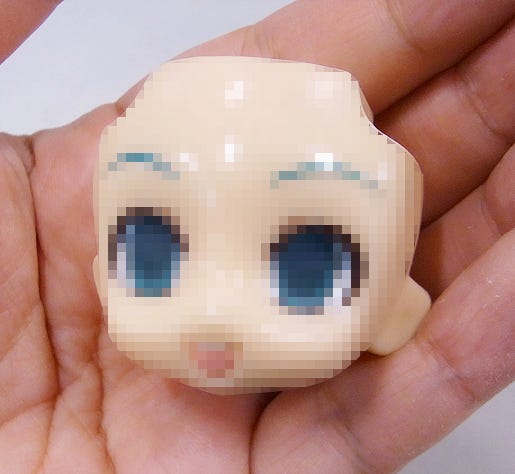
It’s done!!!
B-But… there is a strange looking line along where the masking tape was!
It seems I stuck the masking tape on before the clear lacquer had dried, causing some of it to be pulled off with the tape…
Arrg!! I thought I had done so well too!! xD
But it was my own fault, so I guess the only person I have to blame is myself.
I’ll be continuing this… at WonFes!
At the WonFes booth I’ll be working on the highlights and the ‘crescent moon’ shape underneath the eye! I also won’t be able to use thinner, so I’ll be playing around with all new paints too! :P
I know there are many people who want to meet with me, but it’ll be difficult to see everyone. Either way, I’m going to put my schedule here, so that everyone can see it…
| 10:00: My expression will be on display close to the sales corner. Those lining up to purchase things can take a look while they wait! I’ll first be at the WonHobby Stage for the opening greeting, then I’ll be wandering around the event hall myself. I’ll have some chocolates for everyone who finds me and says hi! (Until I run out of chocolates.)12:30: Lunchtime!
13:30: Preparing to paint. 14:00: I’ll be working on the highlights and ‘crescent moon’ paintwork at the figure sales corner. I’ll be using inflammable paints to make sure everything is safe! I might pop out here and there to appear on the live broadcast. 17:00: Hopefully the event is coming to an end…? |
Just three days left!!
I better get all the tools ready, so I don’t end up forgetting anything! I think I’d best get some practice with the new kind of paint as well… eek!
But anyway that’s all for today!
I hope to see you all again tomorrow!! (・∀・)ノ゛
