Nendoroid Painting, Day 7!
It’s been awhile since I was last here… (´ー`)
This has become a much longer series than I expected, but I know a lot of people have been asking me to continue! I’ve really done my best to get up to this point, and I feel nervous every time I think about continuing. ^^;
But I’m definitely going to see this through to the end, so I do hope you’ll enjoy this blog series through to the end! (`・ω・´)
You can find the previous posts in the series here:
Painting a Nendoroid Expression Part 6: Pupils and Shadows
Painting a Nendoroid Expression Part 5: Mixing Colors and Eyebrows
Painting a Nendoroid Expression Part 4: Preparing to Apply Color
Painting a Nendoroid Expression Part 3: Continuing to Paint the Eye Borders
Painting a Nendoroid Expression Part 2: Painting the Eye Border
Painting a Nendoroid Expression Part 1: Basic Knowledge & Tools
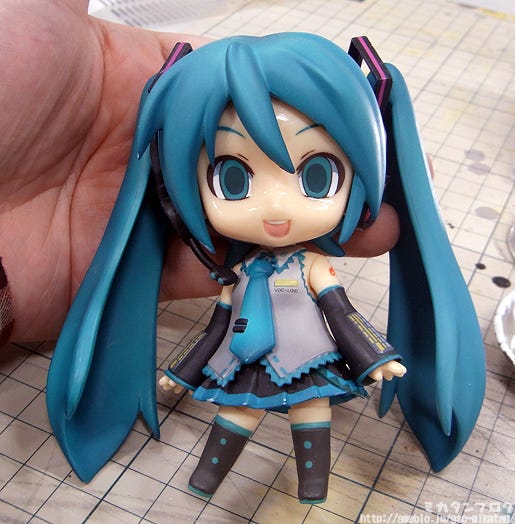
This is where we ended last time!
I haven’t seen her in awhile, but she still looks as creepy as ever! :P
The outlines, base color, pupils, white of the eye and it’s shadow have all been complete at this point! The shadows on the white actually came out much darker than I expected, but there is no turning back – I just need to move on!
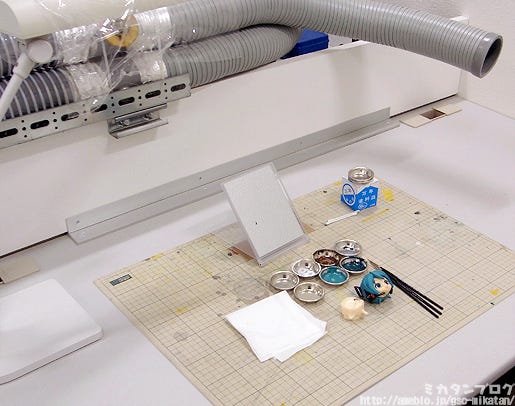
Now I’ll be applying a gradient to the eyes!
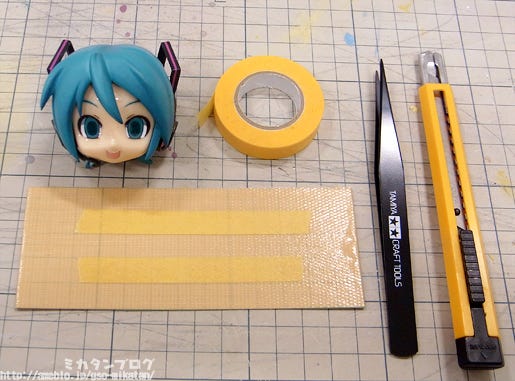
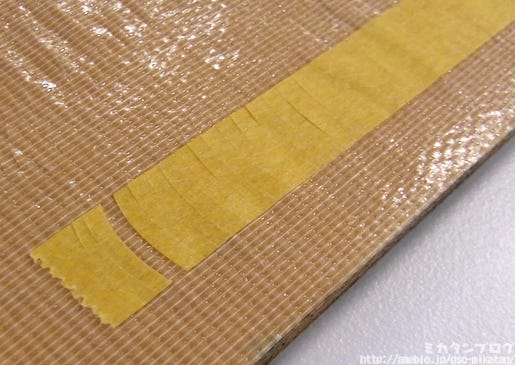
These are the tools I’ll need for this step – it’s just some cardboard with fabric tape stuck on it, with some masking tape on top of that. (the yellow one).
What I’m preparing to do here is cover up all the areas that I don’t want to airbrush with the tape!
I know it’s a little confusing just to read that, but you’ll get the idea once you see the pictures below! I didn’t actually want to use an airbrush, but there is a reason that I decided to use one in the end, which I’ll explain a little bit later…
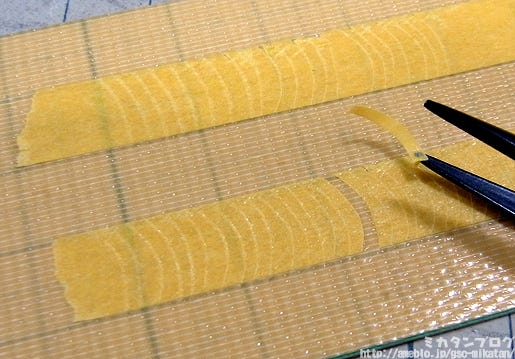
Cutting up pieces free-hand!
Here you can see I’ve cut the masking tape into small strips using a craft knife. It’s best to cut them in slight curves, not perfectly straight. It’s actually easier said than done to cut curves with a craft knife though – sometimes they ended up in rather odd shapes! :P
Here is an example from Kawapon-sensei!
Beautifully cut! Each cut looks just like the last… I guess this is from years of practice as a professional! But I’m not going to cheat – I’ll make use of the tape that I cut, and not the perfectly cut Kawapon tape! :P
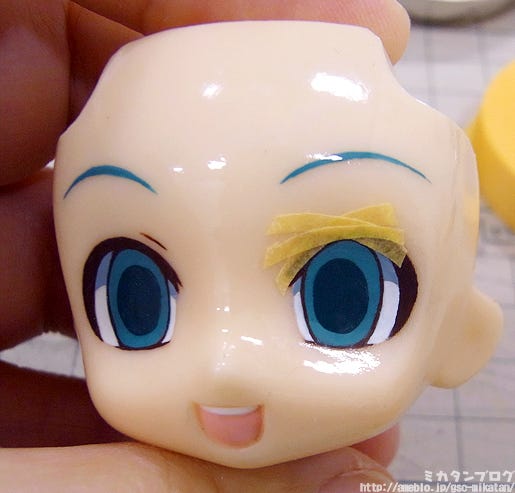
Place the strips along the line of the eye.
You should try to leave the black line slightly visible here!
This is to make sure you don’t miss small parts of the inner eye. If you instead cover up a little bit of the inner eye, there will be areas that aren’t coated by the airbrush, which would be almost impossible to correct neatly. Because it’s a gradient, you can’t just quickly go over it with a brush afterwards!
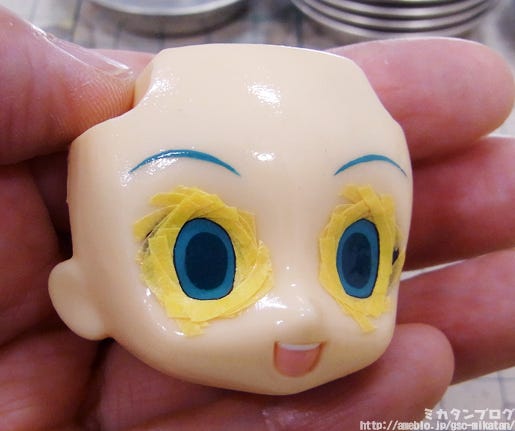
Finished covering both eyes!
The line I’ve made with the tape looks a little shaky, I hope that won’t cause too much trouble…
Everyone is so busy with preparations for WonFes at the moment, that I don’t have anyone to check if my taping is alright! :(
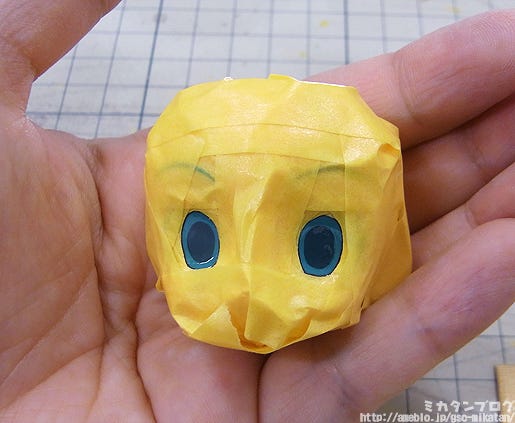
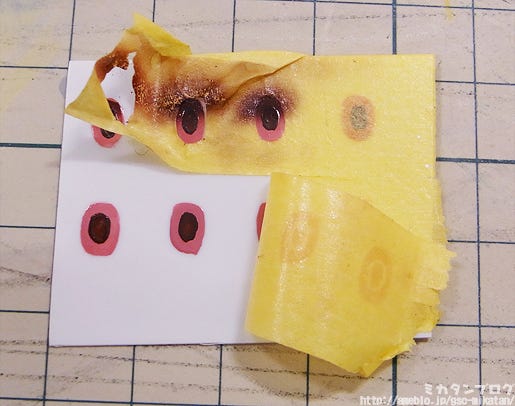
Wrapped up the rest of the face!
When I watched Nendoroid Sonico get made during WonFes, I definitely remember she looked something like this at some point! I’m still really nervous as to whether this is actually going to work out, but I’m just going to trust myself and move onward!!
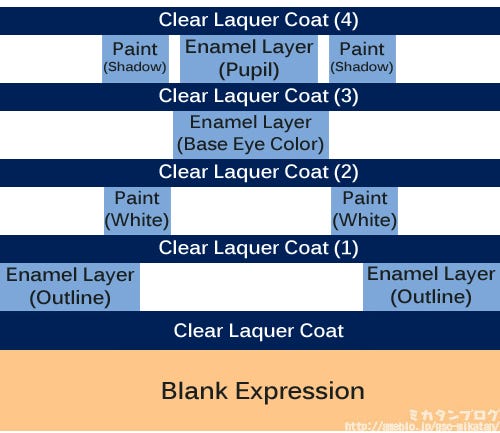
A quick summary of the expression so far!
The basics involve painting with enamel paint and saving with clear lacquer paint – I’ve done this four times now!
The image above represents a cross section of the expression as it stands at the moment. Let me also remind everyone that once you’ve saved with the lacquer paint, you can never go back and change anything on that ‘layer’. The reason I’m going to be using an airbrush for the gradient relates to this…

A close-up on Santa Miku’s eye!
Miku’s pupils have a pale gradient in the center as you can see here. This is pretty much impossible with an airbrush and has to be done by hand. This process by hand would be something like this:
Paint with a color diluted 10x with enamel thinner → ‘save’ with lacquer thinner → Paint with a color diluted 9x with enamel thinner → ‘save’ with lacquer thinner → Paint with a color diluted 8x with enamel thinner → etc…
In other words you need to paint on pale colors and ‘save’ over 10 times for just the pupil!! (((゚Д゚)))
No way!! That would take way too much skill and time!! This same method would be needed to paint the gradient onto the top of the eye as well, and that’s exactly why I decided on using an airbrush instead!
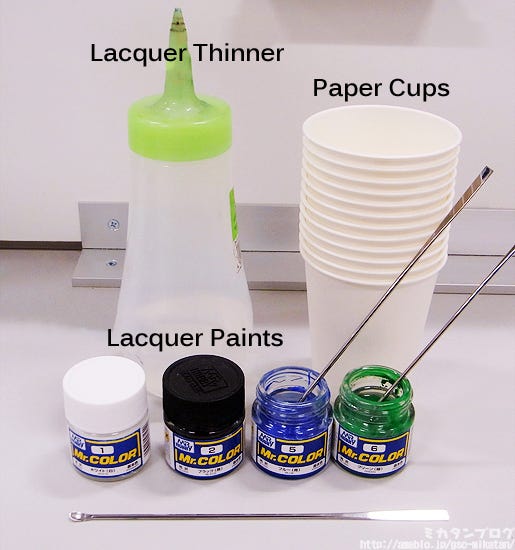
The airbrush paints are lacquer paints!
Up until now we’ve been using enamel paints, but the airbrush has to use these lacquer paints. There are different types of airbrushes, so if you’re trying for yourself don’t get the wrong kind!
Now I need to mix up the right color using these lacquer paints – the lacquer thinner and paints need to mixed in a 1:1 ratio until you have the right color.
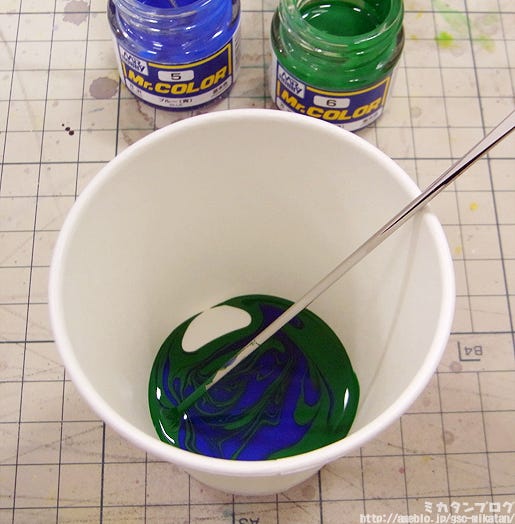
You need a color the same as the pupil color!
Let’s mix up the green and blue and compare it to the pupil color until it looks the same! It might take a little while to get the right color…
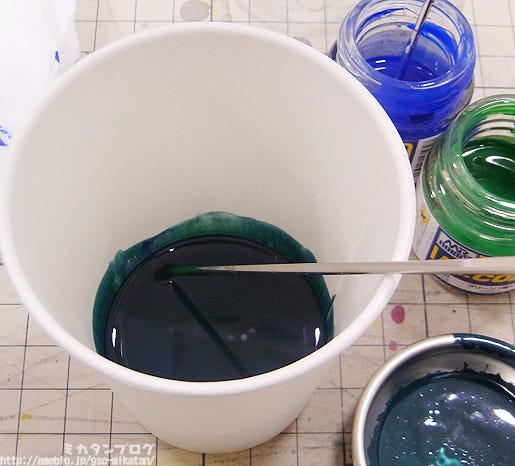
I think this looks alright…
In the bottom right you can see the color I used for the pupil.
It looks close enough for me, so I’m going to head to the production room now and see if I can use the airbrush!

A fellow girl on the expression team!
Nendoroid expressions are made mainly by two girls on the team! During the mayhem of WonFes I feel really bad to ask if I can borrow the airbrush…
As I did though, I was told I first needed to use a ‘chip’ to make sure the colors were correct!
A ‘chip’ to test expressions on!
Ah-hah! I see!
You paint on the base color and pupil onto the chip, and then apply the gradient onto the chip first to ensure the colors are matching! If this ends up looking wrong and I hadn’t checked then I would have wasted days of hard work…
I would have been devastated. ^^;
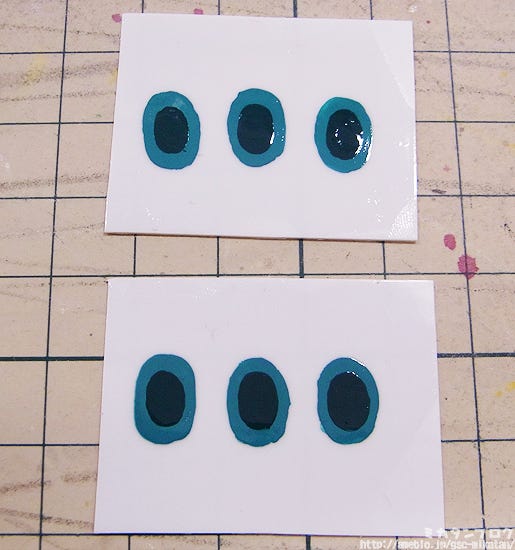
Let’s add my colors onto the chip!
I also tried to match the size of the test eyes with the Nendoroid expressions – plus they have already been saved with clear lacquer here!
Now I’ll have to place masking tape on these and cut out each circle to begin the gradient testing! The actual final gradient probably only takes a few minutes to paint on, but it takes a lot of skill to make sure you don’t end up messing up over and over again – plus you really can’t mess up when you do the actual expression, or it’s all over!
Seems there is still much more to come!
I honestly thought I’d finish today, but it ended up being impossible! I guess this isn’t the end of the expression series just yet, so I hope you’ll look forward to the next episode! ^^
After WonFes, I shall continue my expression! (=゜ω゜=)
But anyway, that’s all for today!
I hope to see you all again tomorrow!! (・∀・)ノ゛