Nendoroid Painting, Day 5!
It’s been three weeks since I was last here! Σ(゚Д゚;)
This was just a series I started on a whim, but it’s actually become very popular with people in the figure industry and serious hobby fans! I was quite surprised at the response, but also very happy!
You can find the previous posts in the series here:
Painting a Nendoroid Expression Part 4: Preparing to Apply Color
Painting a Nendoroid Expression Part 3: Continuing to Paint the Eye Borders
Painting a Nendoroid Expression Part 2: Painting the Eye Border
Painting a Nendoroid Expression Part 1: Basic Knowledge & Tools of the Trade
If you missed out or forgot what happened in the past (like me…), then feel free to go back and read them!
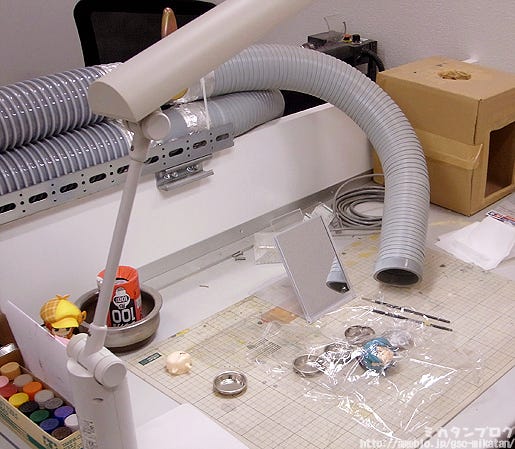
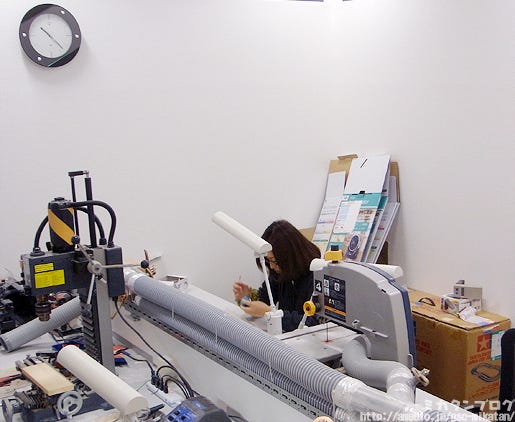
There have been some changes since I was last here!
There is a new light stand, and someone placed some wrapping over the figure and paints! I’m not sure who was responsible, but I’m very grateful! Thank you!
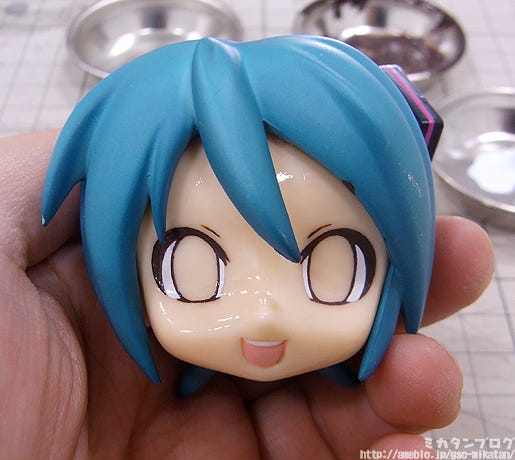
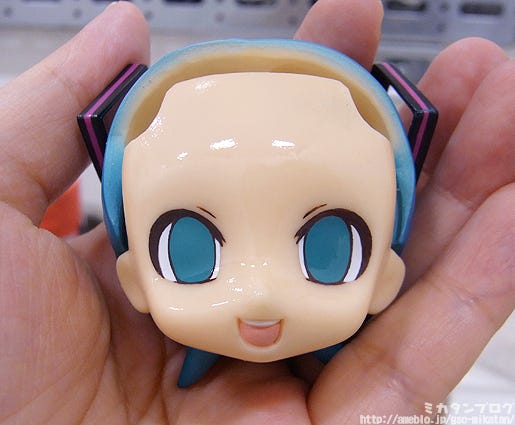
This is where we ended last time!
I had just filled in the whites of the eyes. Basically as you work through the different parts of the expression, you simply need to follow this process!
→ Paint with enamel paint
→ Clean up messy areas with enamel thinner
→ ‘Save’ with lacquer clear.
When you look at it like that it looks quite simple, but it’s a lot of hard work!

Now I’ll be working on the iris!
I’ll be using the very lightest color you can see in the iris – the area at the bottom where the red arrow is pointing. First I’ll need to mix up this color!
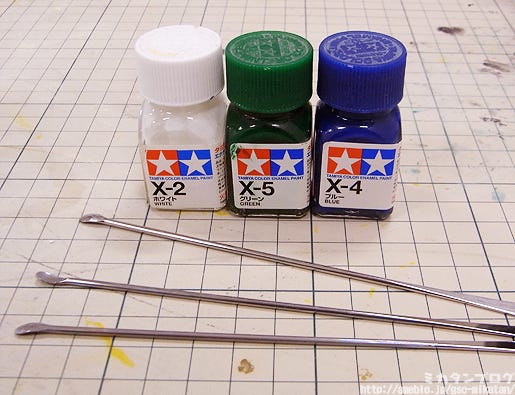
I’ll be using these three colors!
White, green and blue – the three colors of Miku!! I make use of these ear-bud shaped rods to get the right amount of paint into the trays!
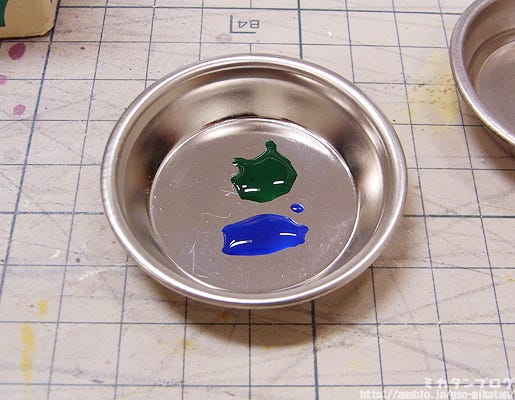
Hmm… I think that’s about right?
I think I might have a bit too much green… I haven’t actually mixed any white into this yet though, I’ll do that last.
I’ve learnt myself that you want to get a good feel for the color before adjusting the brightness, so I mix the other colors till I think the color looks good, then add in the white.
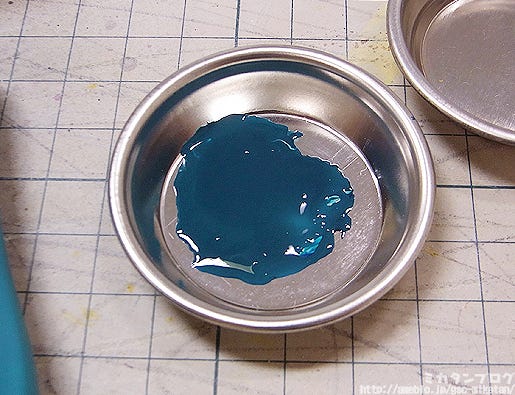
Mixed together! It looks a bit too blue now…
If it’s too blue, I just need to add in a bit more green! You just need to continue mixing colors until you think it looks right – once the blue and green look right I’ll move into the white in the same manner!
Color mixing complete!
Now I’ve ended up with way too much paint… this is what happens when you keep mixing more and more paint to try and get the color right… :P
I guess too much is better than too little in the end! Getting the right color actually takes a lot more time than you think…
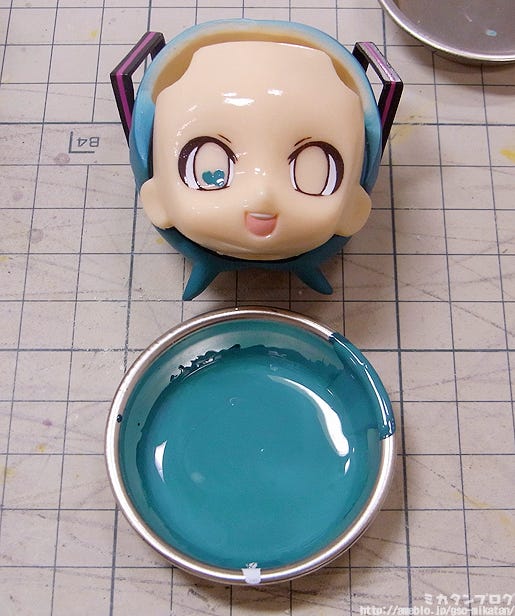
I also put a little dab on the eye to see if it looked right!!
Then something terrible happened…
I applied some enamel thinner to remove the test dab of paint, and the white of the eye came off as well!!
I forgot to ‘save’ after painting on the white!!!
This photo was taken after I had reapplied the white… I’m so hopeless. Those who don’t quite understand what I mean by ‘saving’ with lacquer paint, be sure to check the previous articles where I explain in a bit more detail!
Painting a Nendoroid Expression Part 4: Preparing to Apply Color
The main reason I forgot that I hadn’t saved is that professionals actually paint both the white of the eye and the iris before they apply the lacquer to save. I was hoping to be just as good as them and completely forgot when I tried to wipe away my test color…
The reason you can’t just ‘save’ as many times as you like with the clear lacquer, is that the layer gets thicker each time and it won’t look nice after too many coats.
Of course, if you don’t save between the two parts you have to ensure you don’t mix the white and the iris colors! (((゚Д゚)))
You’d have to erase everything and repaint both the white and the iris every time you made a mistake. If I had to do that I’d never finish this blog, so I think I’ll just save at each stage! :P
This time I painted lacquer over to save the white…
Then I tried to paint on the iris once again!
I think the color has come out quite nicely! Maybe I should have added a bit more white to make it a little lighter… but I think it’s good enough for me, so I’m going to move on ahead!
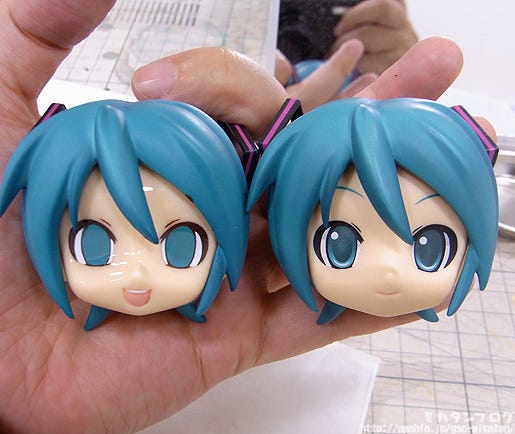
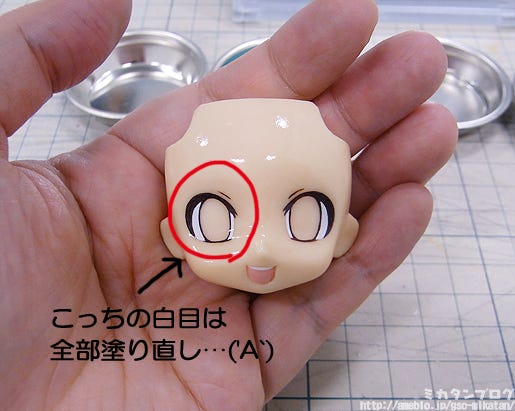
Comparison time… and something doesn’t feel right!
I can already see that the overall shape of the eye looks different!
They look all bent out of shape!!
I want to fix it!!
But I can’t change things now that I’ve saved with the lacquer layer!
Nooooooo!!! :(
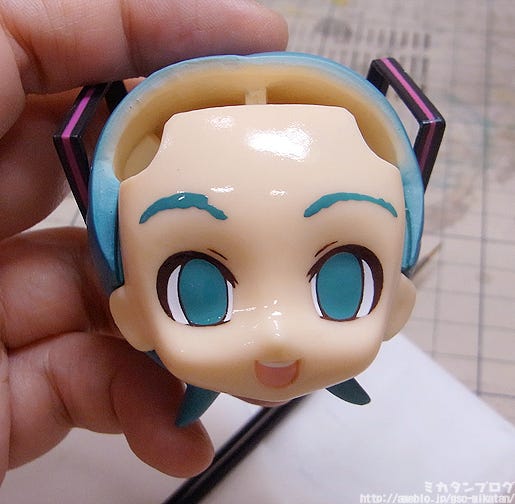
These are the… eyebrows?
I thought maybe it was just looking a bit strange because there weren’t any eyebrows yet, so I quickly drew on some rough ones.
I’m using the same color for the eyebrows as I did for the base color of the iris, but I’m told that the actual Nendoroid Miku uses a slightly darker version of the color used for her hair!
Making adjustments with the fringe!
The eyebrows are not only made to be symmetrical, but also need to be adjusted to match up nicely with the fringe. Miku’s fringe in particular has different lengths which makes these changes even more important – the eyebrows can look very different once you attach the fringe! Although, I guess you could also say all of that about the eyes as well :P
I’ve received a lot of mail from readers that said that it would be easier to make a single eye in Illustrator, flip that around and then print them out as decals. In the case of mass-production in China, the eyes are are done as stamp printing and thus are done with something like Illustrator – but when it comes to the prototype, they are always done separately. They are never simply mirrored across – that just ensures that the detail lives up to our standards!
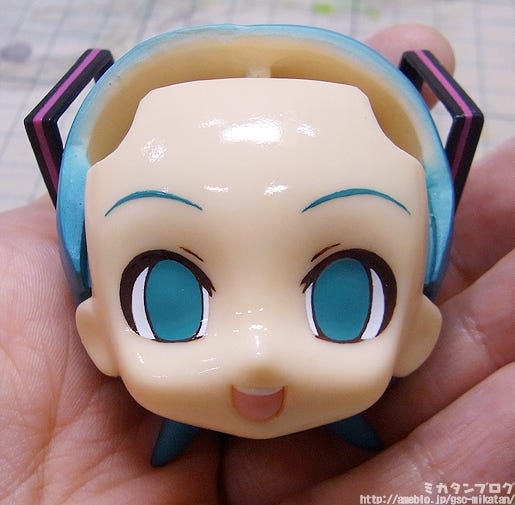
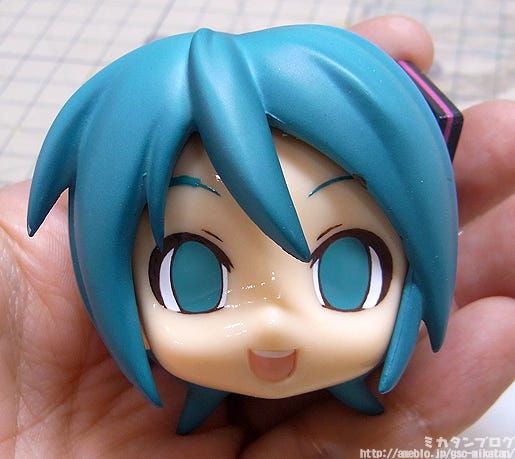
Eyebrows completed!
Alright… I still think the eyes are a little skew, but it’s definitely making progress!! Let me try and put it all together now….
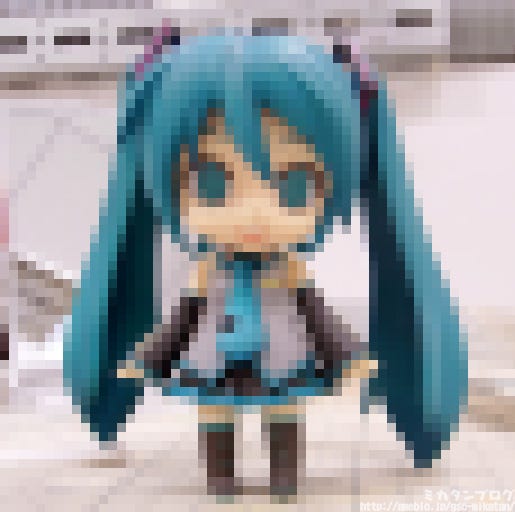
It’s even worse than I thought!!
W-What is this?! It’s not even remotely cute!! It’s not Miku at all!!
I think if I showed this to everyone now you’d all lose your motivation… so I’ll save it for the end…。ヽ(゚∀゚)ノ
Just when I thought it was starting to go well, I was actually quite wrong… make that very wrong! I guess this is the difference between an amateur and a professional. :P
Anyway, next time I’ll be working on the shadows on the white of the eye as well as the pupils! I think I’ll be able to complete this series in the next two posts or so, so I hope you’ll all enjoy what is to come and read through to the end!
But that’s all for today!
I hope to see you all again next week!! (・∀・)ノ゛
(C)Crypton Future Media,Inc.
www.piapro.net