Hi again everyone!
The previous blog in this series featured a quick tutorial on fixing joints, but it doesn’t end there – today we’re going to be looking at reinforcing joints by making use of glue.
You can find part 1 over here: DIY Figure Repairs Part 1: Broken Joints

If you play around with your figures often, you’ll find that over time the joining area becomes looser.
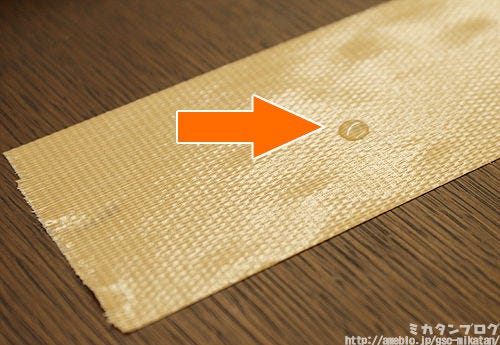
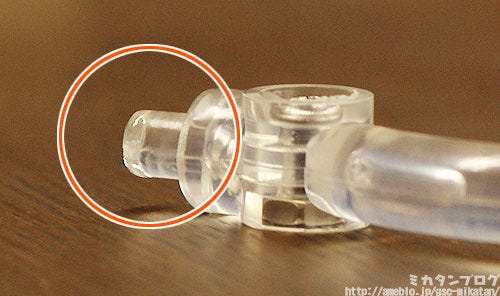
Today’s tutorial will show you how to reinforce the joining area like the one circled on this stand, so that they connect firmly again!
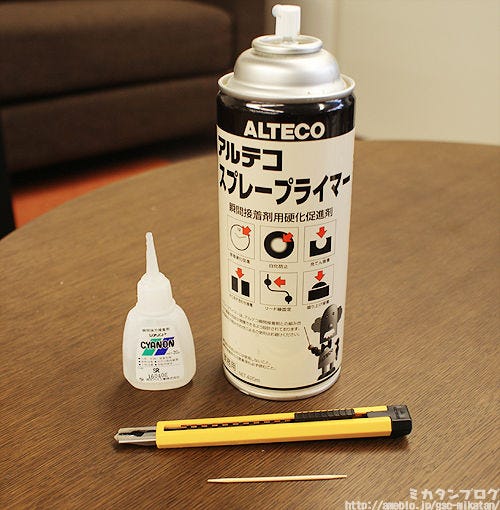
Today’s project will be using the following items!
In the back we have some glue and some adhesive accelerator spray, and in front is a craft knife and a toothpick. In most cases the adhesive accelerator won’t be needed, but it will make things easier.
As long as you have glue, a craft knife and a toothpick, you’re set!
Place a drop of glue on a secure surface that won’t melt.
Just like last time, I’ve simply used some tape, but you can use whatever you can find. Just try to make sure you don’t get any glue on the desk or your hands.

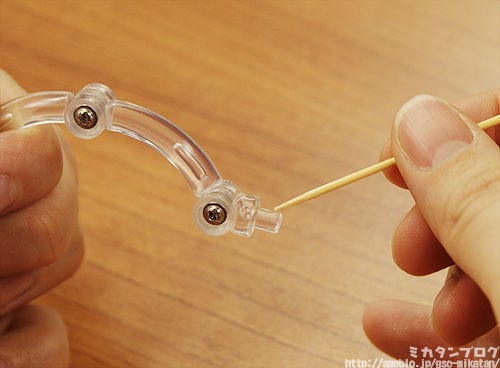
Take something long and thin and spread the glue out.
The image above is actually using a brass wire, but a toothpick will work just fine.
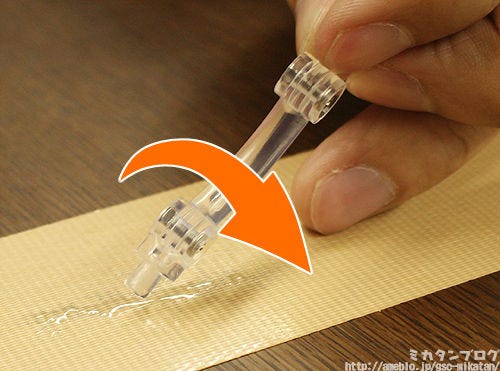
Place the joining area into the glue and spin it around.
Be careful though – you need to get glue only on the sides of the shaft and NOT on the base. It’s quite hard to explain in words, so let me give you a picture:

You want the glue to be on the pink area,
but NOT on the blue area!
If you get the glue on the base it’ll result in the shaft sticking out too far. Basically you’re just trying to make the diameter of the joining area ‘thicker’ with glue.
This series of blogs is actually being written with the help of Oda-P-sensei, but while doing watching him do this, I could only think to myself…
/ \
/ ─ ─ \ “Hmmm…
/ (=・=) (=・=)\ If that was me…
| (__人__) | I’d be getting glue on all the wrong places!”
\ ` ⌒´ /
ノ \
If you’re worried like me, then you can do the more secure method below:
‘Paint’ the glue on by using the tip of a toothpick!
You still need to be careful not to get the glue on the base or too high up.
This method should also be used for smaller parts.
It’s considerably easier to apply the glue using this method instead of just applying it to the joint directly. (Although it’s also slower.)
Complete!
You can see the area around the bottom is slightly thicker now.
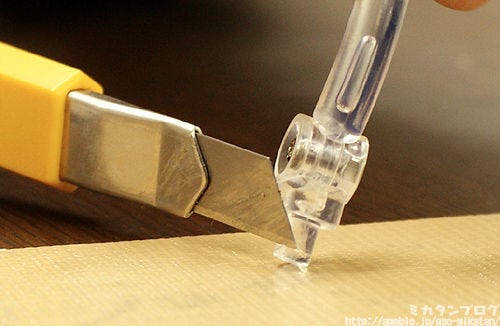
If you put too much glue on, you simply need to shave some off with the craft knife.
Just make sure the glue has dried completely before doing so. Whilst it does depend on the type of glue, normally the craft knife will easily slice through the glue, so be careful not to cut yourself in the process.
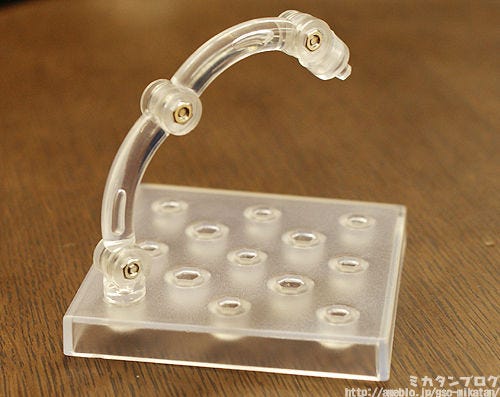
Finished!
By making the shaft slightly thicker it fits into place just like new!
I made use of a stand in this example, but you can use the same method for any kind of connecting joint. As always, just be careful not to get glue on the figure itself.
Next time we’ll be looking at dealing with scuffed paint! (・∀・)ノ
It’s a little more complex then the previous two… but even so, it’ll be up on the blog if you want to give it a try!
That’s all for today!
I hope to see you all again tomorrow! (・∀・)ノ゛
Tomorrow’s blog will be a figure review!