Hi everyone!
I’ve received a multitude of messages from people showing the destruction caused to their figures, as well as a couple of people asking if there are any good ways to repair them, so today I’m going to start a new series of blogs discussing the repair of your figures in the case they break! If you’re a figure lover then it’s sure to helpful to you at some stage.
-Broken Joints-
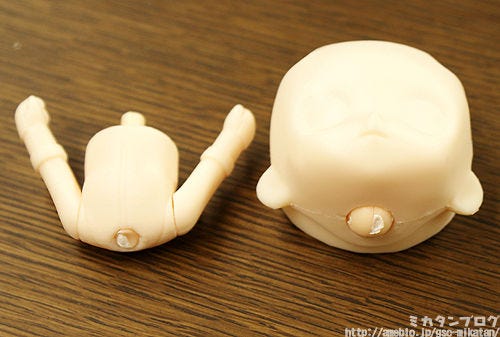
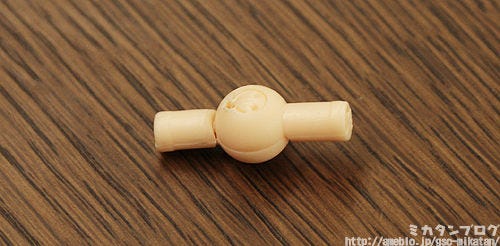
When Nendoroid joints break, it’ll often be like this…
First you need to remove the two broken pieces. Follow the instructions below.
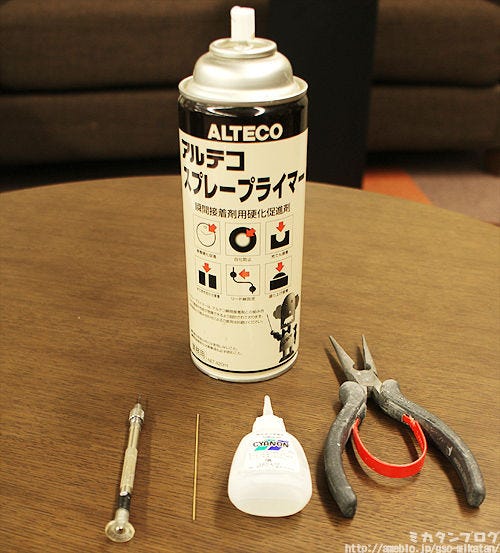
These are the items you will need.
The large can is a can of adhesive acceleration spray. The bottom items from the left are: a 1mm pin vice, a 1mm brass wire, glue and a pair of pliers. There might be some items you’ve never used before, but…
at the very least you will need the pin vice, the glue and something similar to the wire.
You can find a pin vice in almost any 100 yen shop, they are not that hard to find.
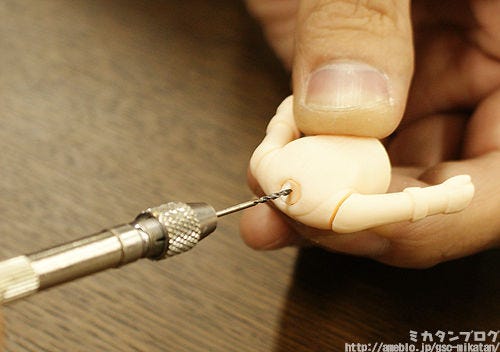
Start by removing the bottom part of the broken joint.
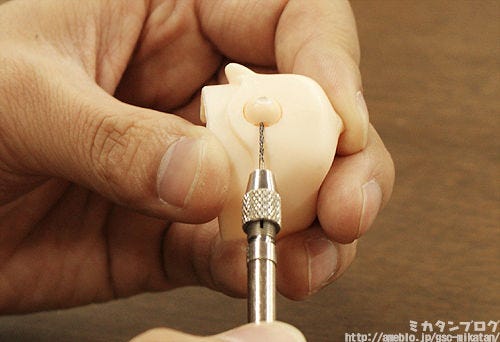
Use the pin vice to create a hole in the very center of the joint. Be careful not to hurt yourself!
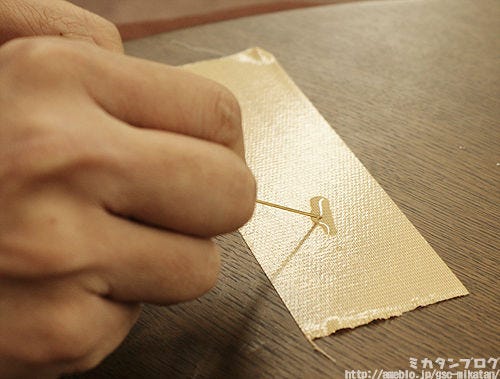
Place some glue out on something and dip the wire in it.
I’ve just put some glue on some tape, but you can use whatever you have around so long as it doesn’t melt from the glue. Try not to get any of the glue on your hands!
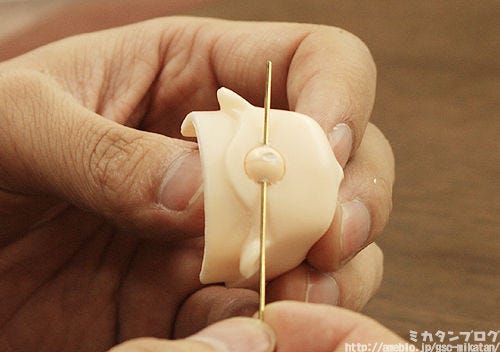
Push the wire into the hole you made.
Try not to put too much glue on the wire otherwise it might leak out onto the figure itself. Watch as you push it in to make sure the glue does not overflow.
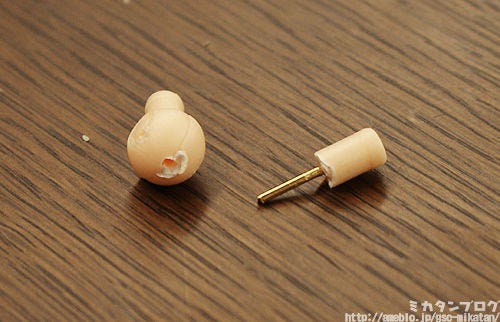
Once the glue has hardened, simply pull on the wire to remove the joint.
I’m using pliers in the image, but you can use your bare hands as well. Just be careful not to hurt yourself!
Now you’ve removed the bottom half of the joint from the figure!
Now we move onto the top part of the joint.
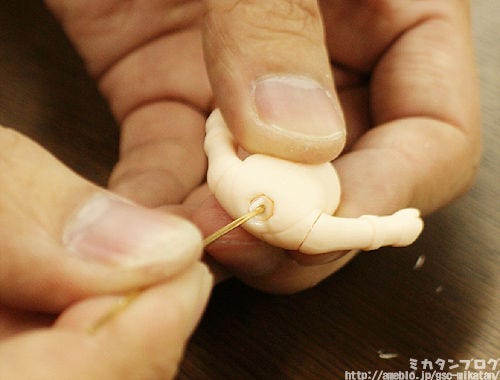
This joint has a circular bit, and you need to pierce a hole in the joint horizontally using the pin vice. Go straight through the joint, but be careful not to damage the actual figure.
Place the wire straight through the hole you made.
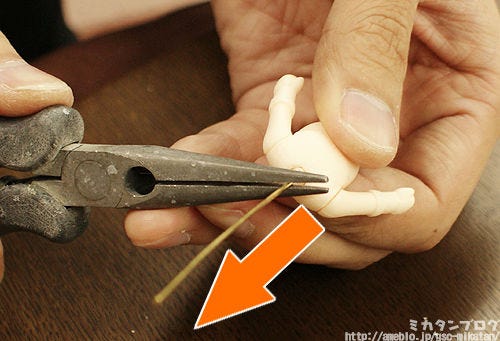
Now you simply just need to pull the brass wire up using to the two ends that are sticking out… and the joint will come out with it!

Broken joint removed!
In a case like this where it’s the neck joint that’s broken, you can simply replace the joint with one from another expression. Most characters all use the same colored joints, so you can even use one from another character quite easily.
But, there are cases where another joint that isn’t replaceable breaks!
For example, if a joint on a characters twin tailed hair breaks… you can’t easily replace it as the colors will mismatch if you use a joint from another figure.
In these cases you can repair the joint into a non-posable joint:

These are the two pieces that were just removed.
You do not need to remove the wire from the bottom part of the joint, (left in this picture) you will need it in the repair process.

Create a hole through the upper joint using the pin vice.
Be careful! This hole will establish what angle the joint will be at!
If you want the joint to be completely straight, then create the hole straight through the middle. If you want the joint to be at an angle you need to place the hole to the left or right, depending on how you wish to angle it. For this example I’m simply making a straight joint – so I’ll be making the hole straight down the middle.
Joints are also very small and hard to work with using just your hands, so I recommend holding them still using pliers or something of the like. If you just just your bare hands you are more likely to injure yourself, so please be careful!
Cut the brass wire so that it will fit into the hole you just made…
And connect them together once again!

Place some glue around the area where the break was to secure it and prevent it from falling out.
Don’t get any glue on the desk or your hands!
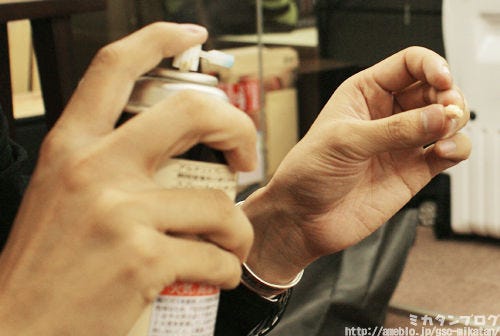
Then finish off with some adhesive acceleration spray.
This is an optional step – if you don’t have any then don’t worry about it. Just wait for the glue to dry well instead.
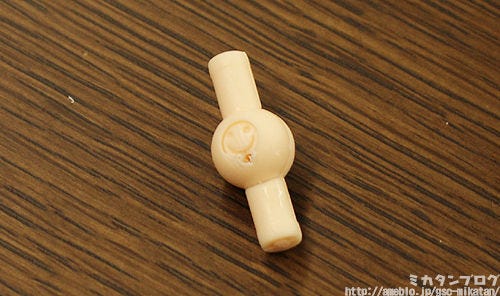
Success!
Seen you have a brass wire through the middle, it is also a very durable repair job. This will obviously prevent it from being posable, but it is a reliable repair method if there is no way to replace the joint with another one.
Next time will be a blog focusing on reinforcing joints using glue! (・∀・)ノ
– Notice –
I introduced her on my blog yesterday, but she is now up on the Good Smile website – don’t miss out on Nendoroid Miku: Support ver.!
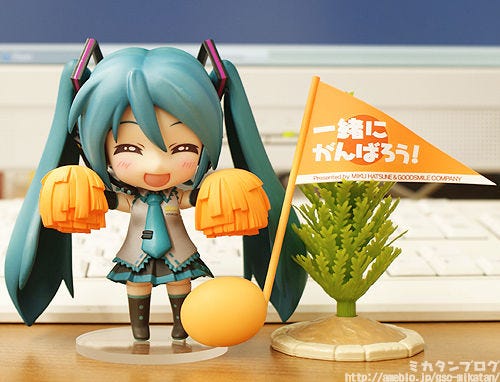
Each sale will contribute 1000 yen to the Japan Red Cross to support relief efforts in Eastern Japan. We will also be shipping her overseas, you can order from anywhere!
Overseas orders will be taken at the GSC Online Shop from the 8th April.
The figures will be made-to-order, so be sure to order if you wish to show your support. Further details about payment methods and shipping will be put up on the Good Smile Online shop in the near future.
Good Smile Online Shop:http://goodsmile.ecq.sc/
If you are ordering from overseas, please note the following:
| Overseas Sales■ Orders start on the 8th April. More details will be revealed later. ■ Delivery will be in late July, and may incur an additional fee. |
That’s all for today!
I hope to see you all again next week! (・∀・)ノ゛
(C)Crypton Future Media, Inc. ALL RIGHTS RESERVED