Hello everyone, Kahotan here! (@gsc_kahotan)
My body has cycles that make me want to eat dango. I don’t need anko inside or anything – just standard three-color dango are delicious!!
Anyway, today I’m going to be doing a special blog in commemoration of Nendoroid Kashu Kiyomitsu’s release!! Today we’re going to be painting some nails!!
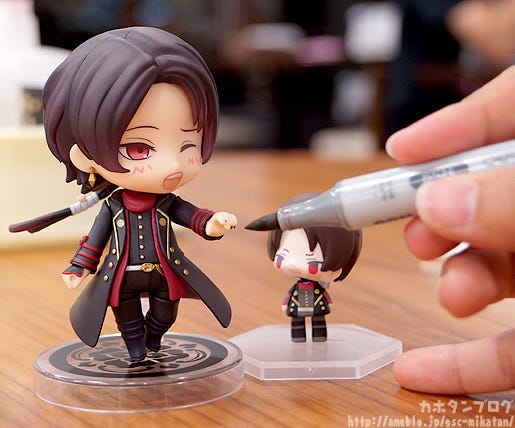
But what can we use to paint the tiny nails of a Nendoroid?
Today I’m going to be introducing two different methods with the help of Eco-shi from the production team and Hamako from the planning team! っ(。・ω・)ノ
Let’s get started!!
1) Marker Painting
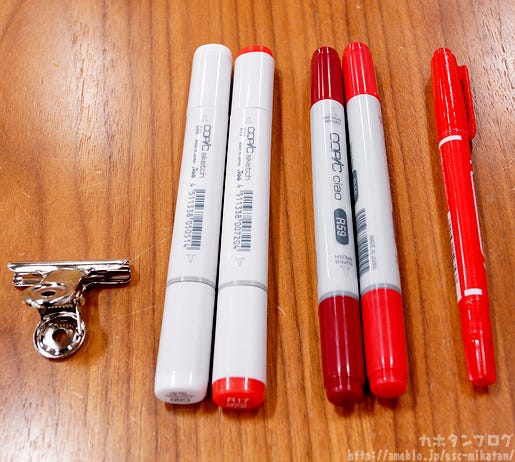
– Items Used In this Section –
· Bulldog clip
· Red Permanent Marker (Extra Fine)
· COPIC sketch 0 or sketch C00
· COPIC sketch R17
· COPIC ciao R59
· COPIC ciao R46
Note, you don’t need all of these pens! Simply choose the one that you think will suit you based on the info below!
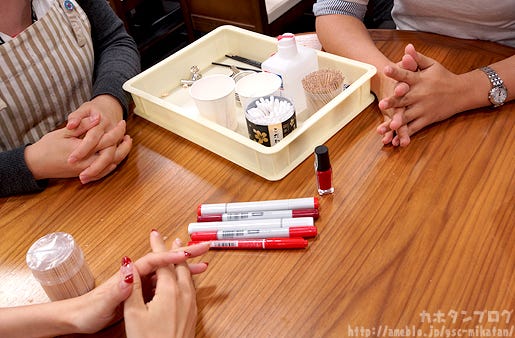
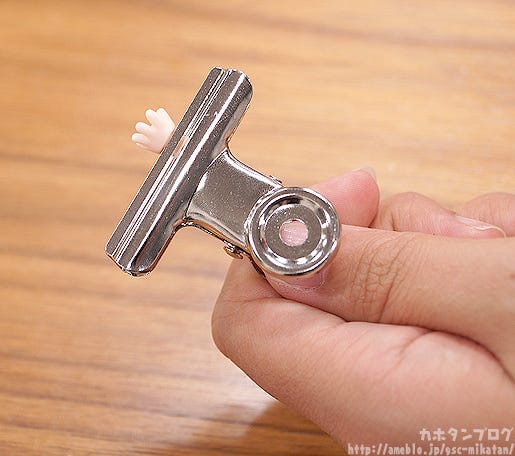
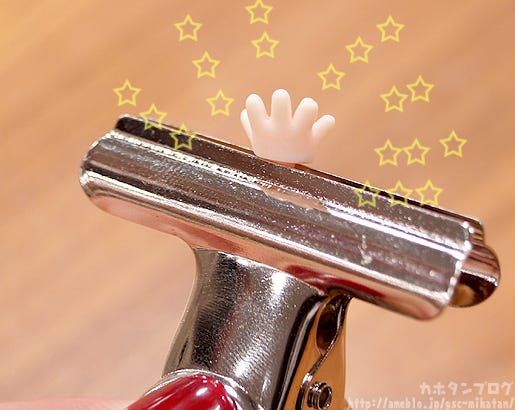
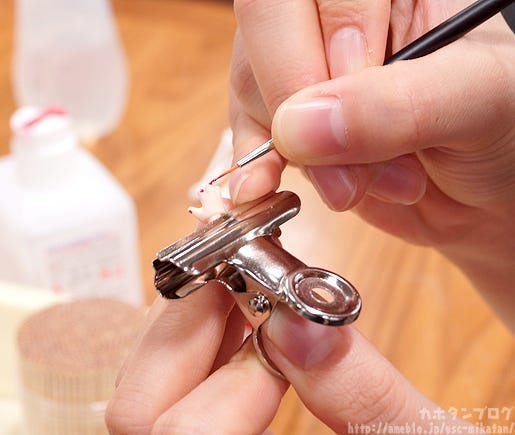
The bulldog clip is used to hold the hand parts in place! This makes the work much more stable and keeps it nice and still while drying. A peg or something similar may also work if you can’t find a clip!
△ I’m using a standard product sample which should be the same as yours!
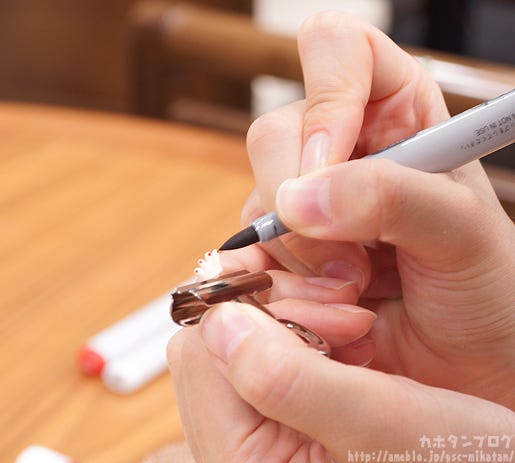
The first marker I’ll be trying out is a Red Permanent Marker!

Hamako: Permanent markers are easy to get hold of and make a nice primer. The pen is hard which makes it easy to paint as well. The color is a little bit too light though…
Next we use some more artistic tools!
The COPIC ciao R46!★
Eco-shi: The ‘sketch’ series has many more colors, but the ciao series uses less ink which works better for intricate work like this. You can do tiny little sections at a time without too much trouble… but the tip is soft so do be careful not to apply too much pressure!
While the permanent marker is easy to get hold of, if you want a more accurate color than COPIC markers are for you!
COPIC’s items are often found on sites like amazon if they’re not available near you!
Also note Eco-shi’s posture to prevent shaking!
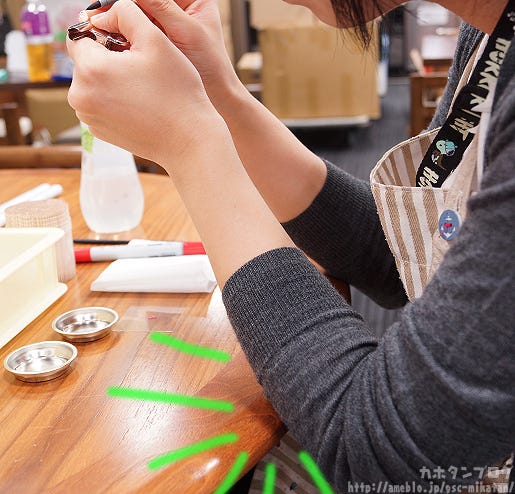
Painting something so small is probably harder than you think! Placing your arms at an angle to the table like this gives good support and allows for more stable work! ♪
The two of them are trying their nail painting, so now it’s my turn!
I’ll be challenging myself with the…
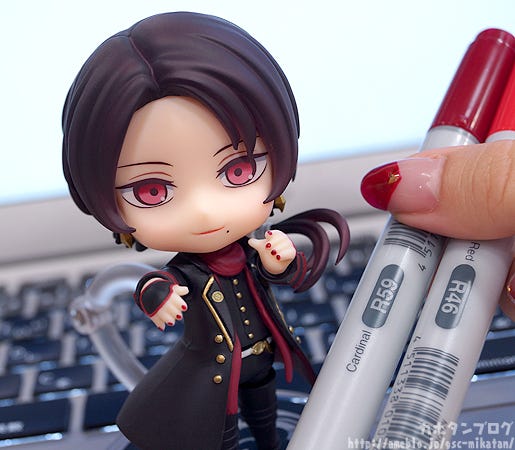
COPIC sketch R17!
Gah! I already painted on too much… (/ω\)
I guess I was rushing too much with the confidence that Eco-shi had given me…
But I have no need to worry! There is a solution to this!!

COPIC sketch C00!!
I actually bought this thinking it was a pen to mix COPIC colors, but it worked out that if you paint this onto the red area…
… give it a quick wipe with a tissue, and…
This will get some red stains on the top of the COPIC sketch C00, so be sure to wipe the tip off as much as possible as well! ☆
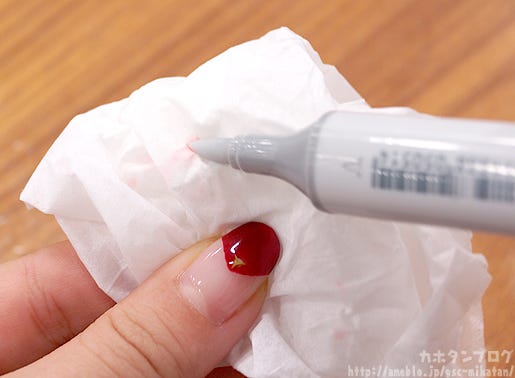
△ If you leave even a little red in it will stay that way forever! Be sure to wipe it clean!
Note that the ideal COPIC pen for this is actually the ‘0’ colorless blender pen, which I only found out after writing this article! The above pen will work as an eraser though as long you you wipe it down with a tissue as soon as it is applied!
Anyway, let’s try that one again! (σ・∀・)σ

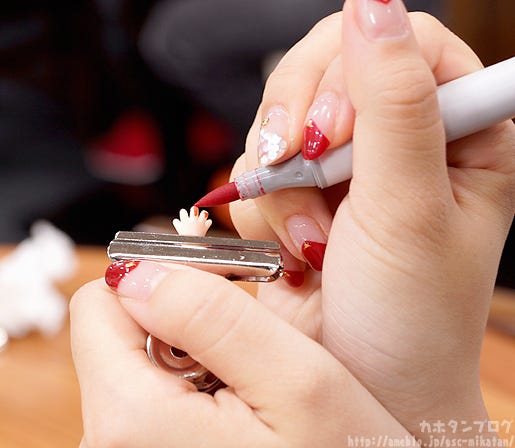
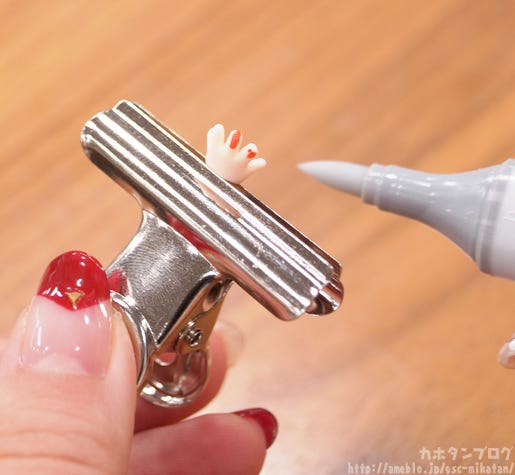
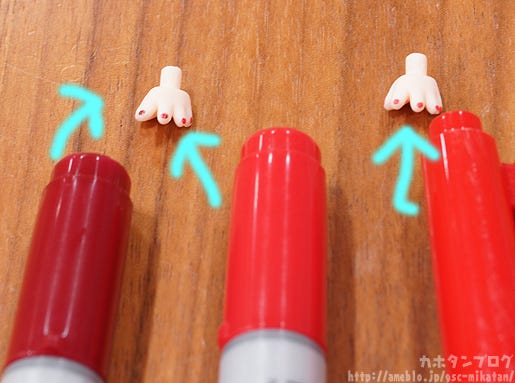
The two left fingers are painted with the COPIC ciao R59, the two right fingers with the COPIC ciao R46!
I made so many little tiny touches that the colors look a little irregular… I really am too clumsy for this!!
Compared to the permanent marker, the darker shades of the COPIC markers do match with the skin color a little better to me! (‘-‘*)(,_,*)(‘-‘*)(,_,*)
By the way, the permanent marker can also be removed by the COPIC sketch C00, so it’s nice to have just in case!
Consensus: If you want nice deep colors use the COPIC markers, if you want a quick and easy job use a permanent marker!
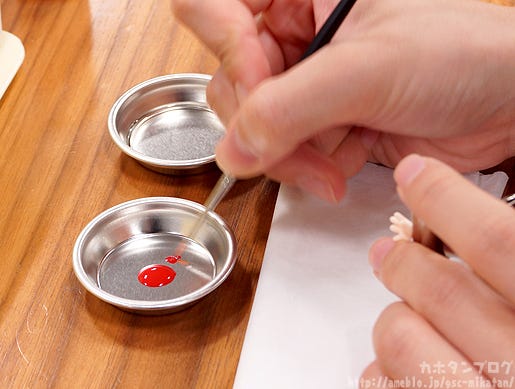
2) Enamel Paints

– Items Used in this Section –
· Bulldog clip
· Fine Paintbrush
· 2x Paint Dishes (Paper Cups also work!)
· TAMIYA Color Enamel Paint Thinner (X-20)
· TAMIYA Color Enamel Paint Red (X-7)
· Cotton Swabs
This version is much closer to the actual way figures are painted!
First mix up the paint with a toothpick!

Then move some of the paint into a tray with the same toothpick!
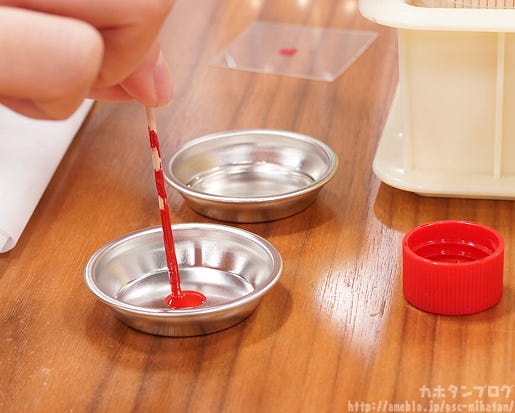
In the second paint tray add some of the paint thinner! ε=(。・д・。)

Soak the paintbrush in the thinner and then brush it through the paint.
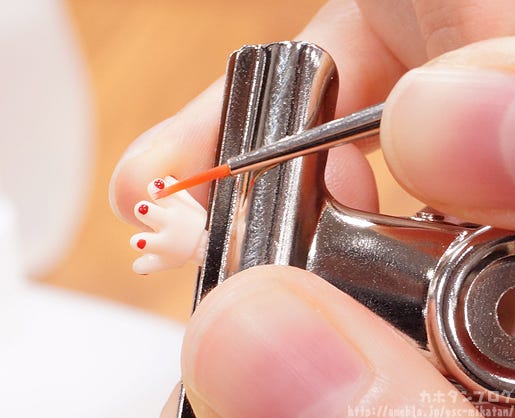
Add a fair amount of paint to the brush, and then carefully dab and brush onto each finger carefully!! ٩(๑òωó๑)۶
If the paint spreads out too far, clean the brush and then dip it into the thinner from before and clear away the unnecessary paint with a gentle swipe!
△ “A second chance makes things much less stressful” – Clumsy Person.
By the way, when painting with enamel paints make sure to ventilate the room!!
It’s not a bad idea to place something on the table and wear an apron just in case!! ♪ Also note that enamel paint takes some time to dry! If you’re in a hurry you can rush the drying a little with a hairdryer!
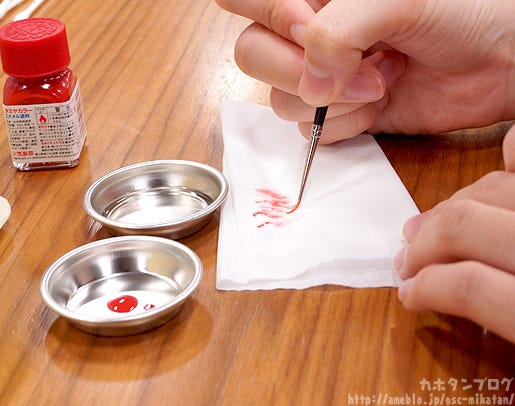
But wait! We never used the cotton swabs! (/ω\)

Eco-shi: If you make a big error or decide you don’t like the color, just dip the swabs in thinner and wipe off the paint entirely.
Here we have a comparison of all the different methods! From the left: Permanent marker, COPIC, enamel paint!
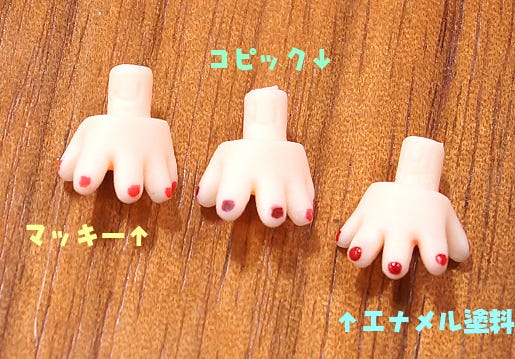
The shiny look of the paint definitely looks nice!!
If you feel like investing some time into the nail painting then I definitely recommend it! But the markers certainly don’t look bad – especially from a distance! Simply select the option that suits you the best and give it a try!! Note that through either method the paint will likely fade over time, so you might need to do a little touch-up once in awhile!!
Here we have my COPIC painted Kashu who now sits beside me at my desk!! (●´ω`●)
I painted the COPIC ciao R59 and COPIC ciao R46 on multiple times… giving a strange kind of shiny look!

△ This may or may not be the effect of layering COPICs on each other
Be the way, I’d love to see everyone’s photos of Kashu! If you submit them to twitter be sure to use the hashtag #ねんどろ刀剣男士 and I’ll definitely be taking a look! (I look through them and enjoy myself a few times every single day! ♡)
・*:.。..。.:*・゚゚・*:.。..。.:*・゚ ゚・*:.。..。.:*・゚゚・*:.。..。.:*・゚ ゚・*:.。..。.:*・゚゚・*:.。..。.:*・゚
♥︎ Today’s Date ♥︎
A date out to go see the moon! ♪
What is ‘Today’s Date’?
Today’s date is a photo corner featuring figure photos sent in by fans with the theme ‘The Perfect Date’. See the bottom of this post for details on how to take part: Kahotan Post Office
・*:.。..。.:*・゚゚・*:.。..。.:*・゚ ゚・*:.。..。.:*・゚゚・*:.。..。.:*・゚ ゚・*:.。..。.:*・゚゚
( ・∀・) .。oO(The new animes for October…)
oノ∧つ⊂)
(( ・∀・) .。oO(…are all starting soon!!)
( ∪ ∪
と_)_))
Planning Team / Kahotan / Twitter ID:@gsc_kahotan
©2015 DMMゲームズ/Nitroplus